
Claude Desktop Third-party Provider Configuration Guide
This tutorial shows you how to configure a third-party API Provider in the Claude Desktop client so it connects to different AI services, such as yycode, Kimi, and others, through a custom gateway.
Prerequisites
Before you start, make sure:
- Claude Desktop has been downloaded and installed
- You have an API Key for the third-party service
- You know the service's Gateway address (Base URL)
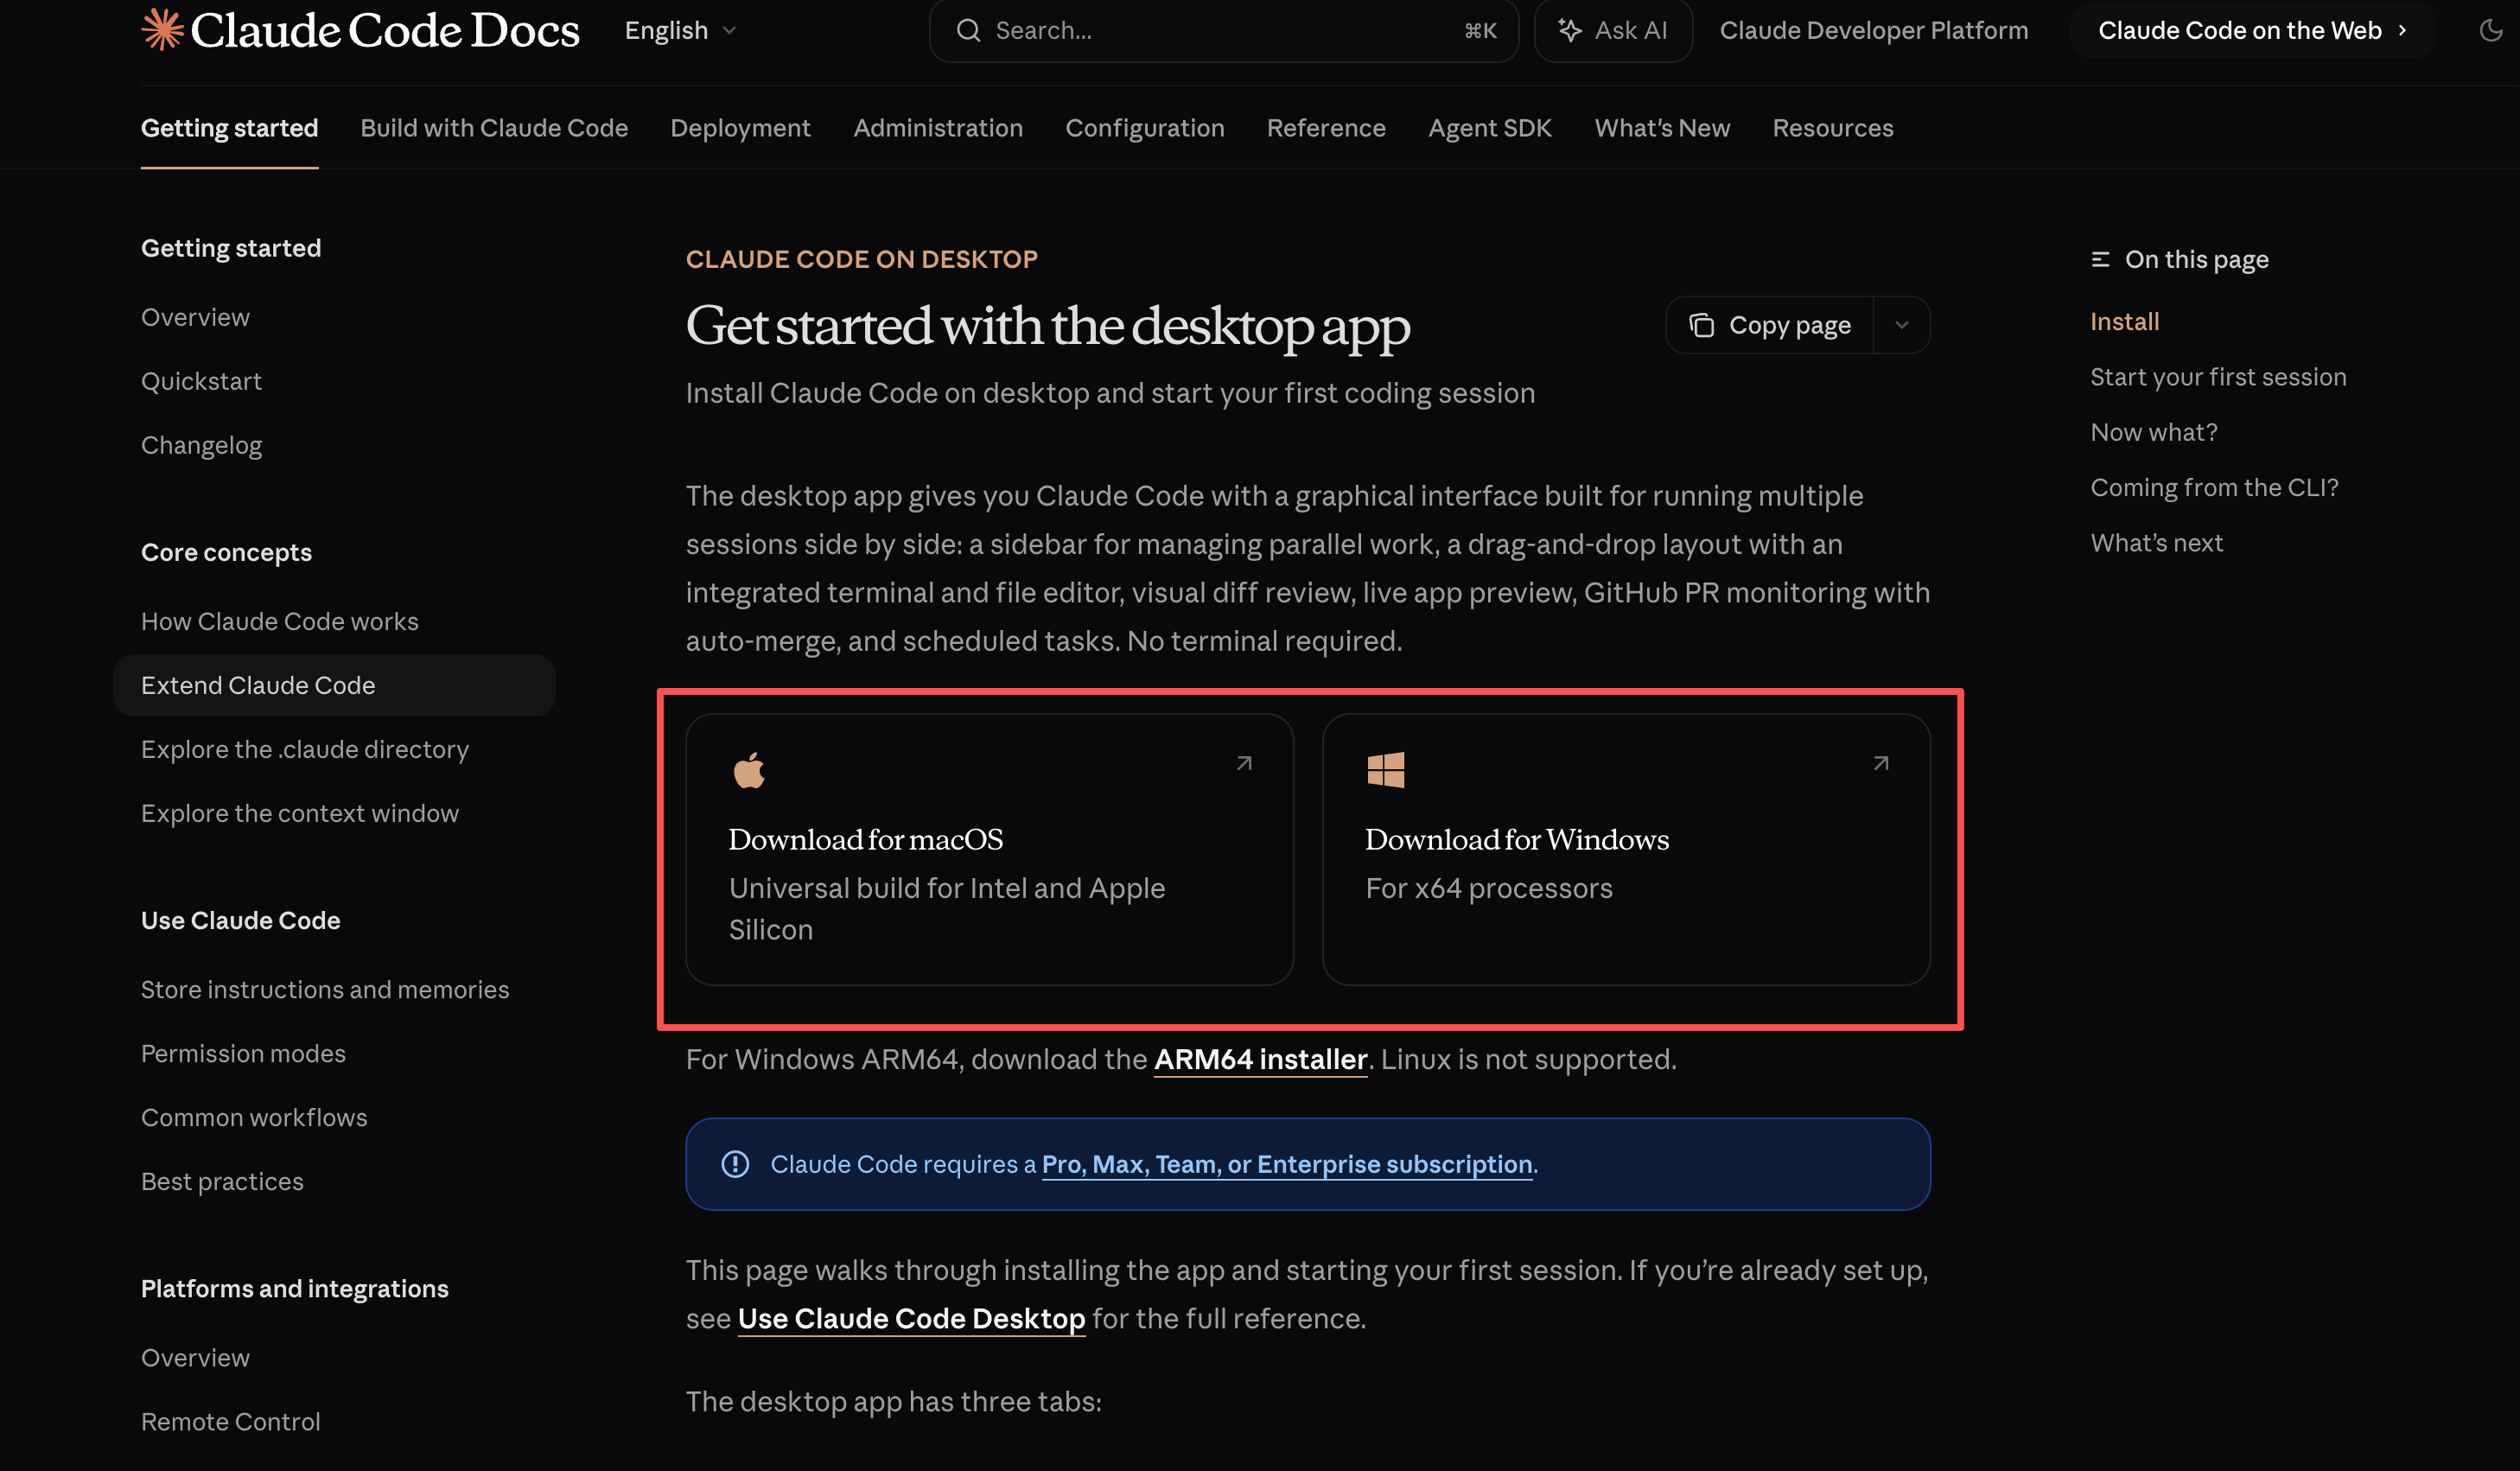
Download Claude Desktop
Visit the official download page to get the latest version:
macOS Configuration Flow
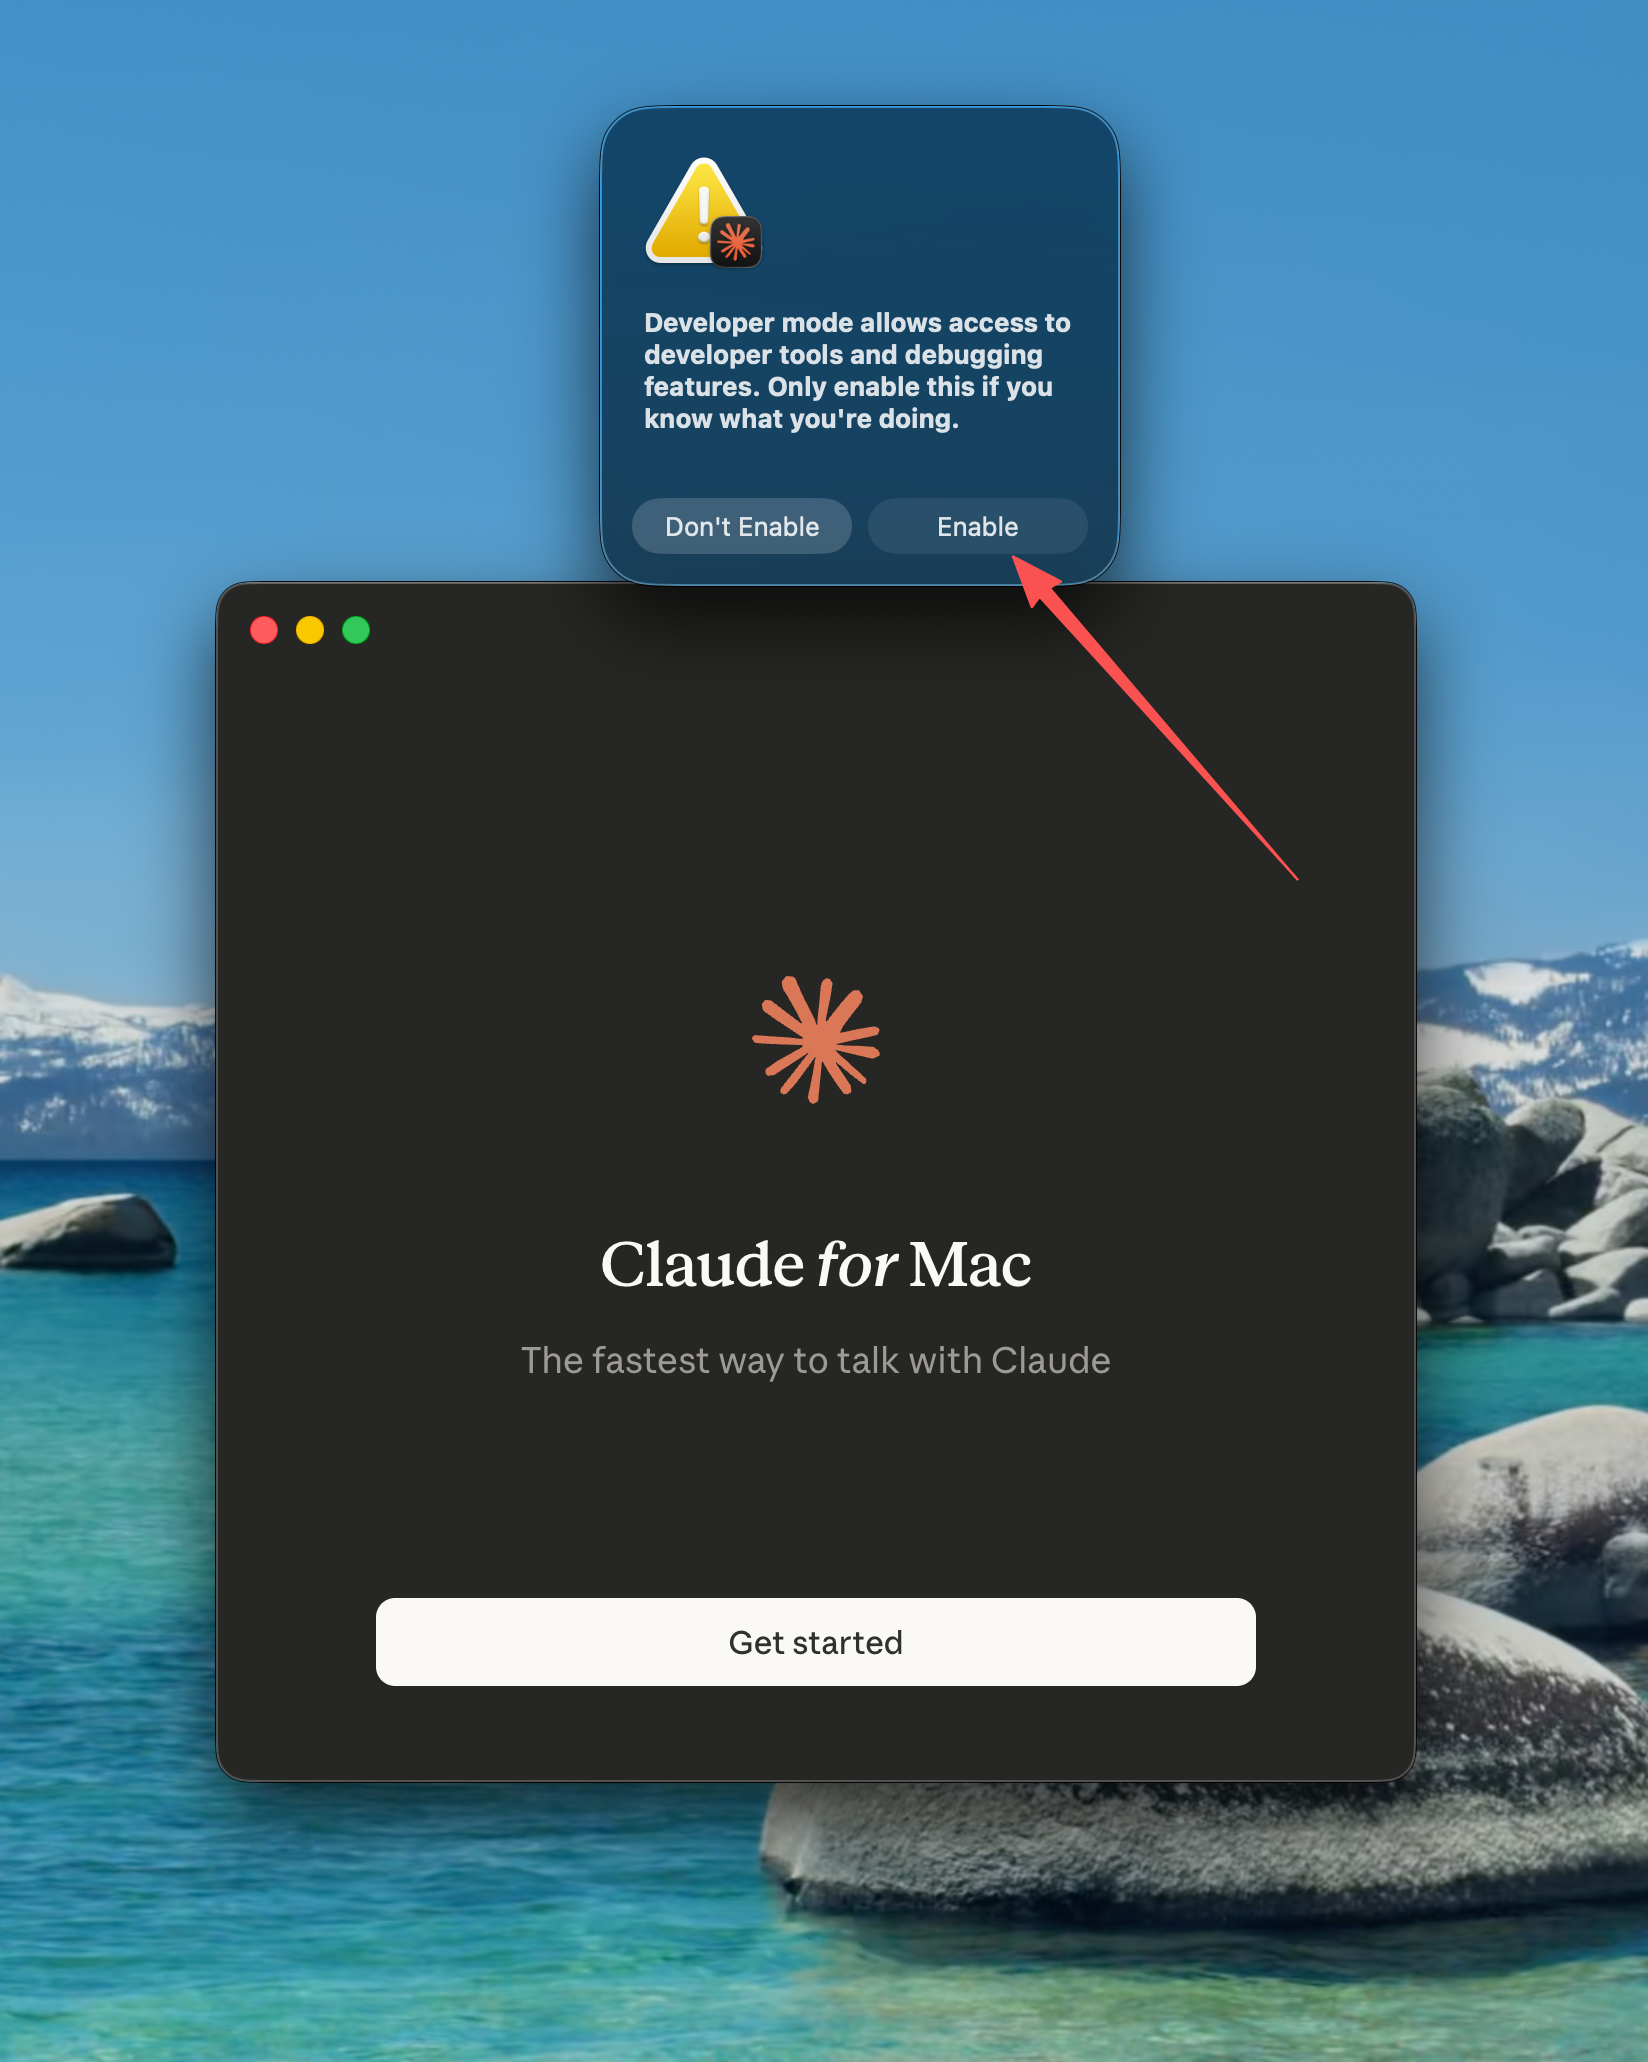
Step 1: Enable Developer Mode
Open the Claude Desktop client

Click Help in the top menu bar, then select Troubleshooting -> Enable Developer Mode

In the confirmation dialog, click Enable. The app will restart automatically
Step 2: Configure the Third-party Interface
After restart, enter the welcome screen and do not log in yet. Keep the client selected. The top menu bar will now show a Developer option
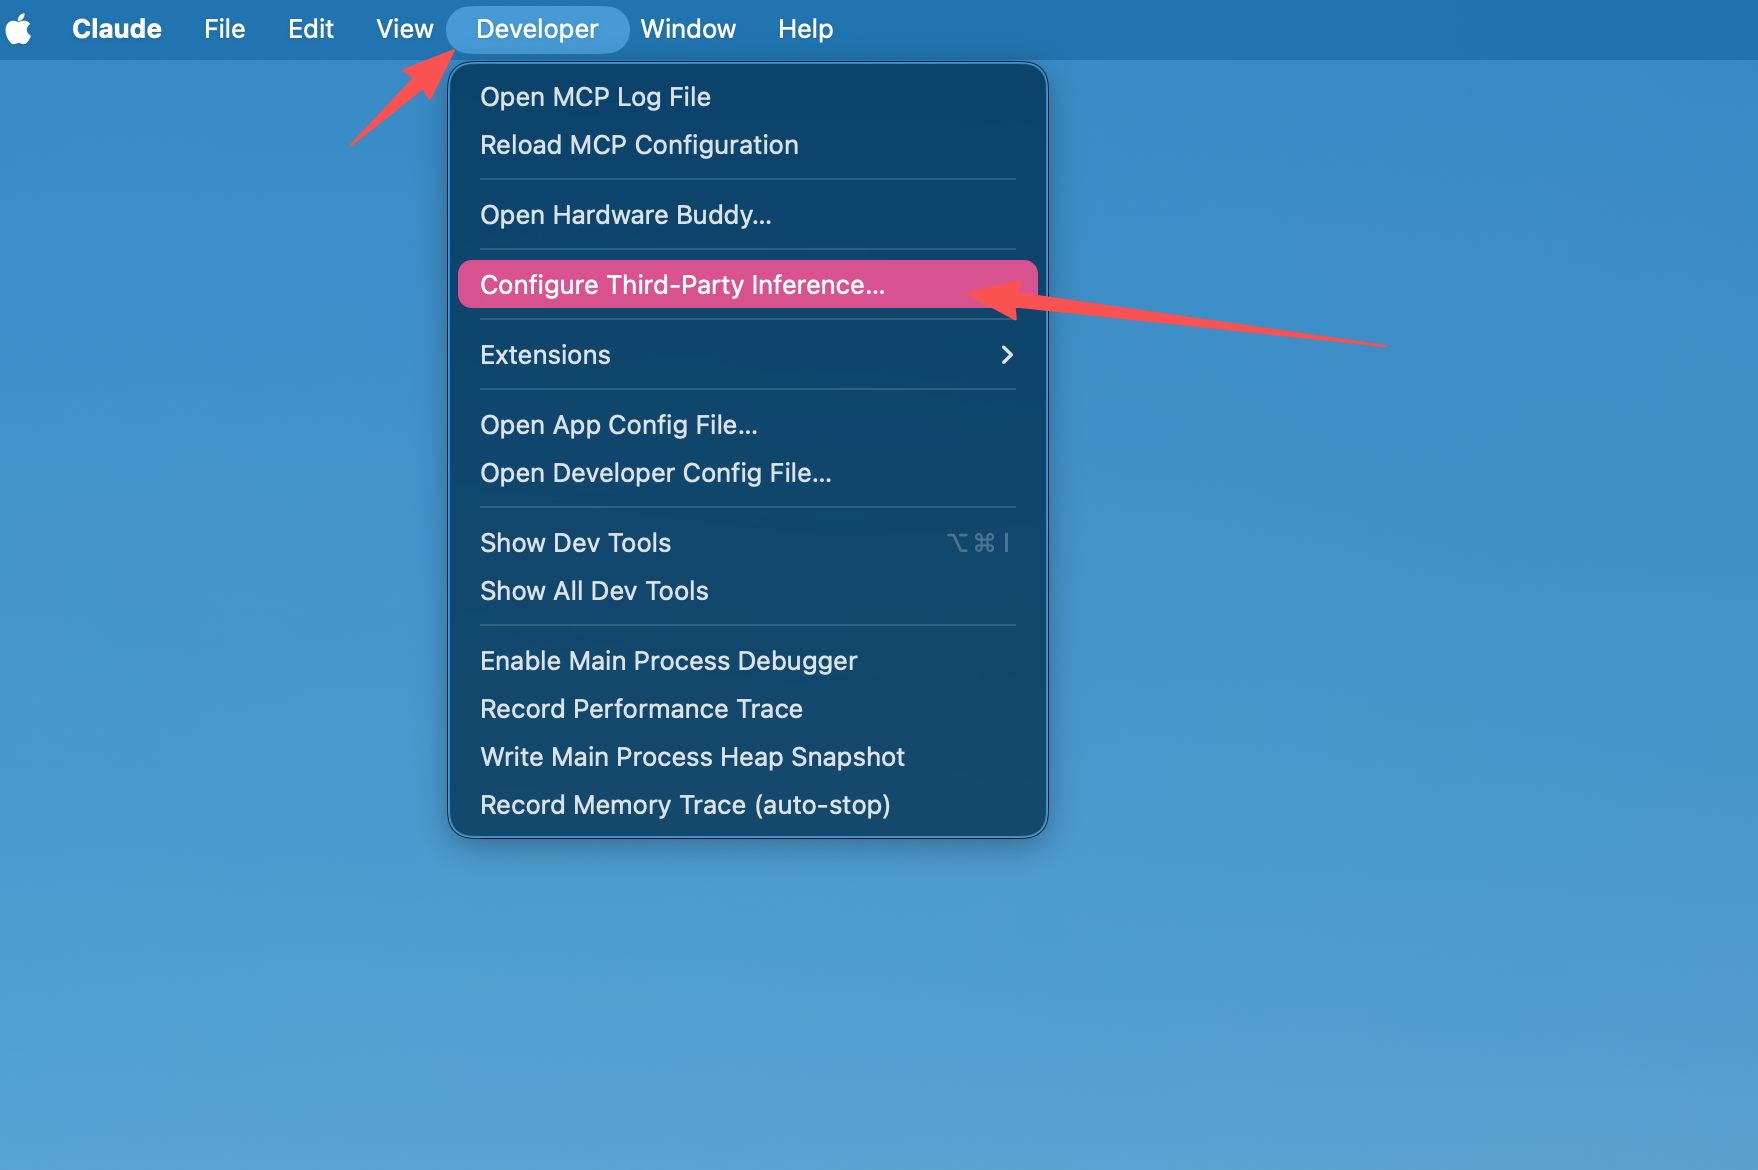
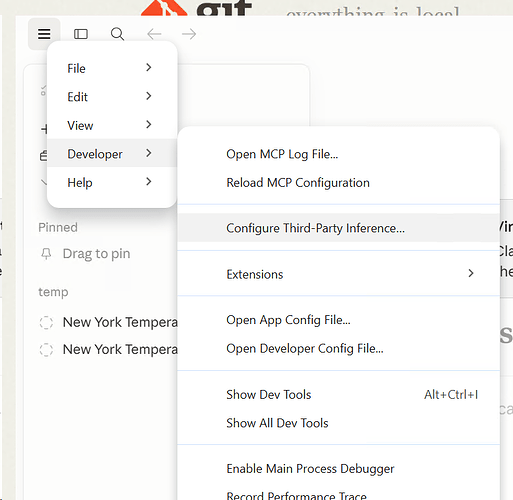
Click Developer -> Configure Provider to open the configuration panel
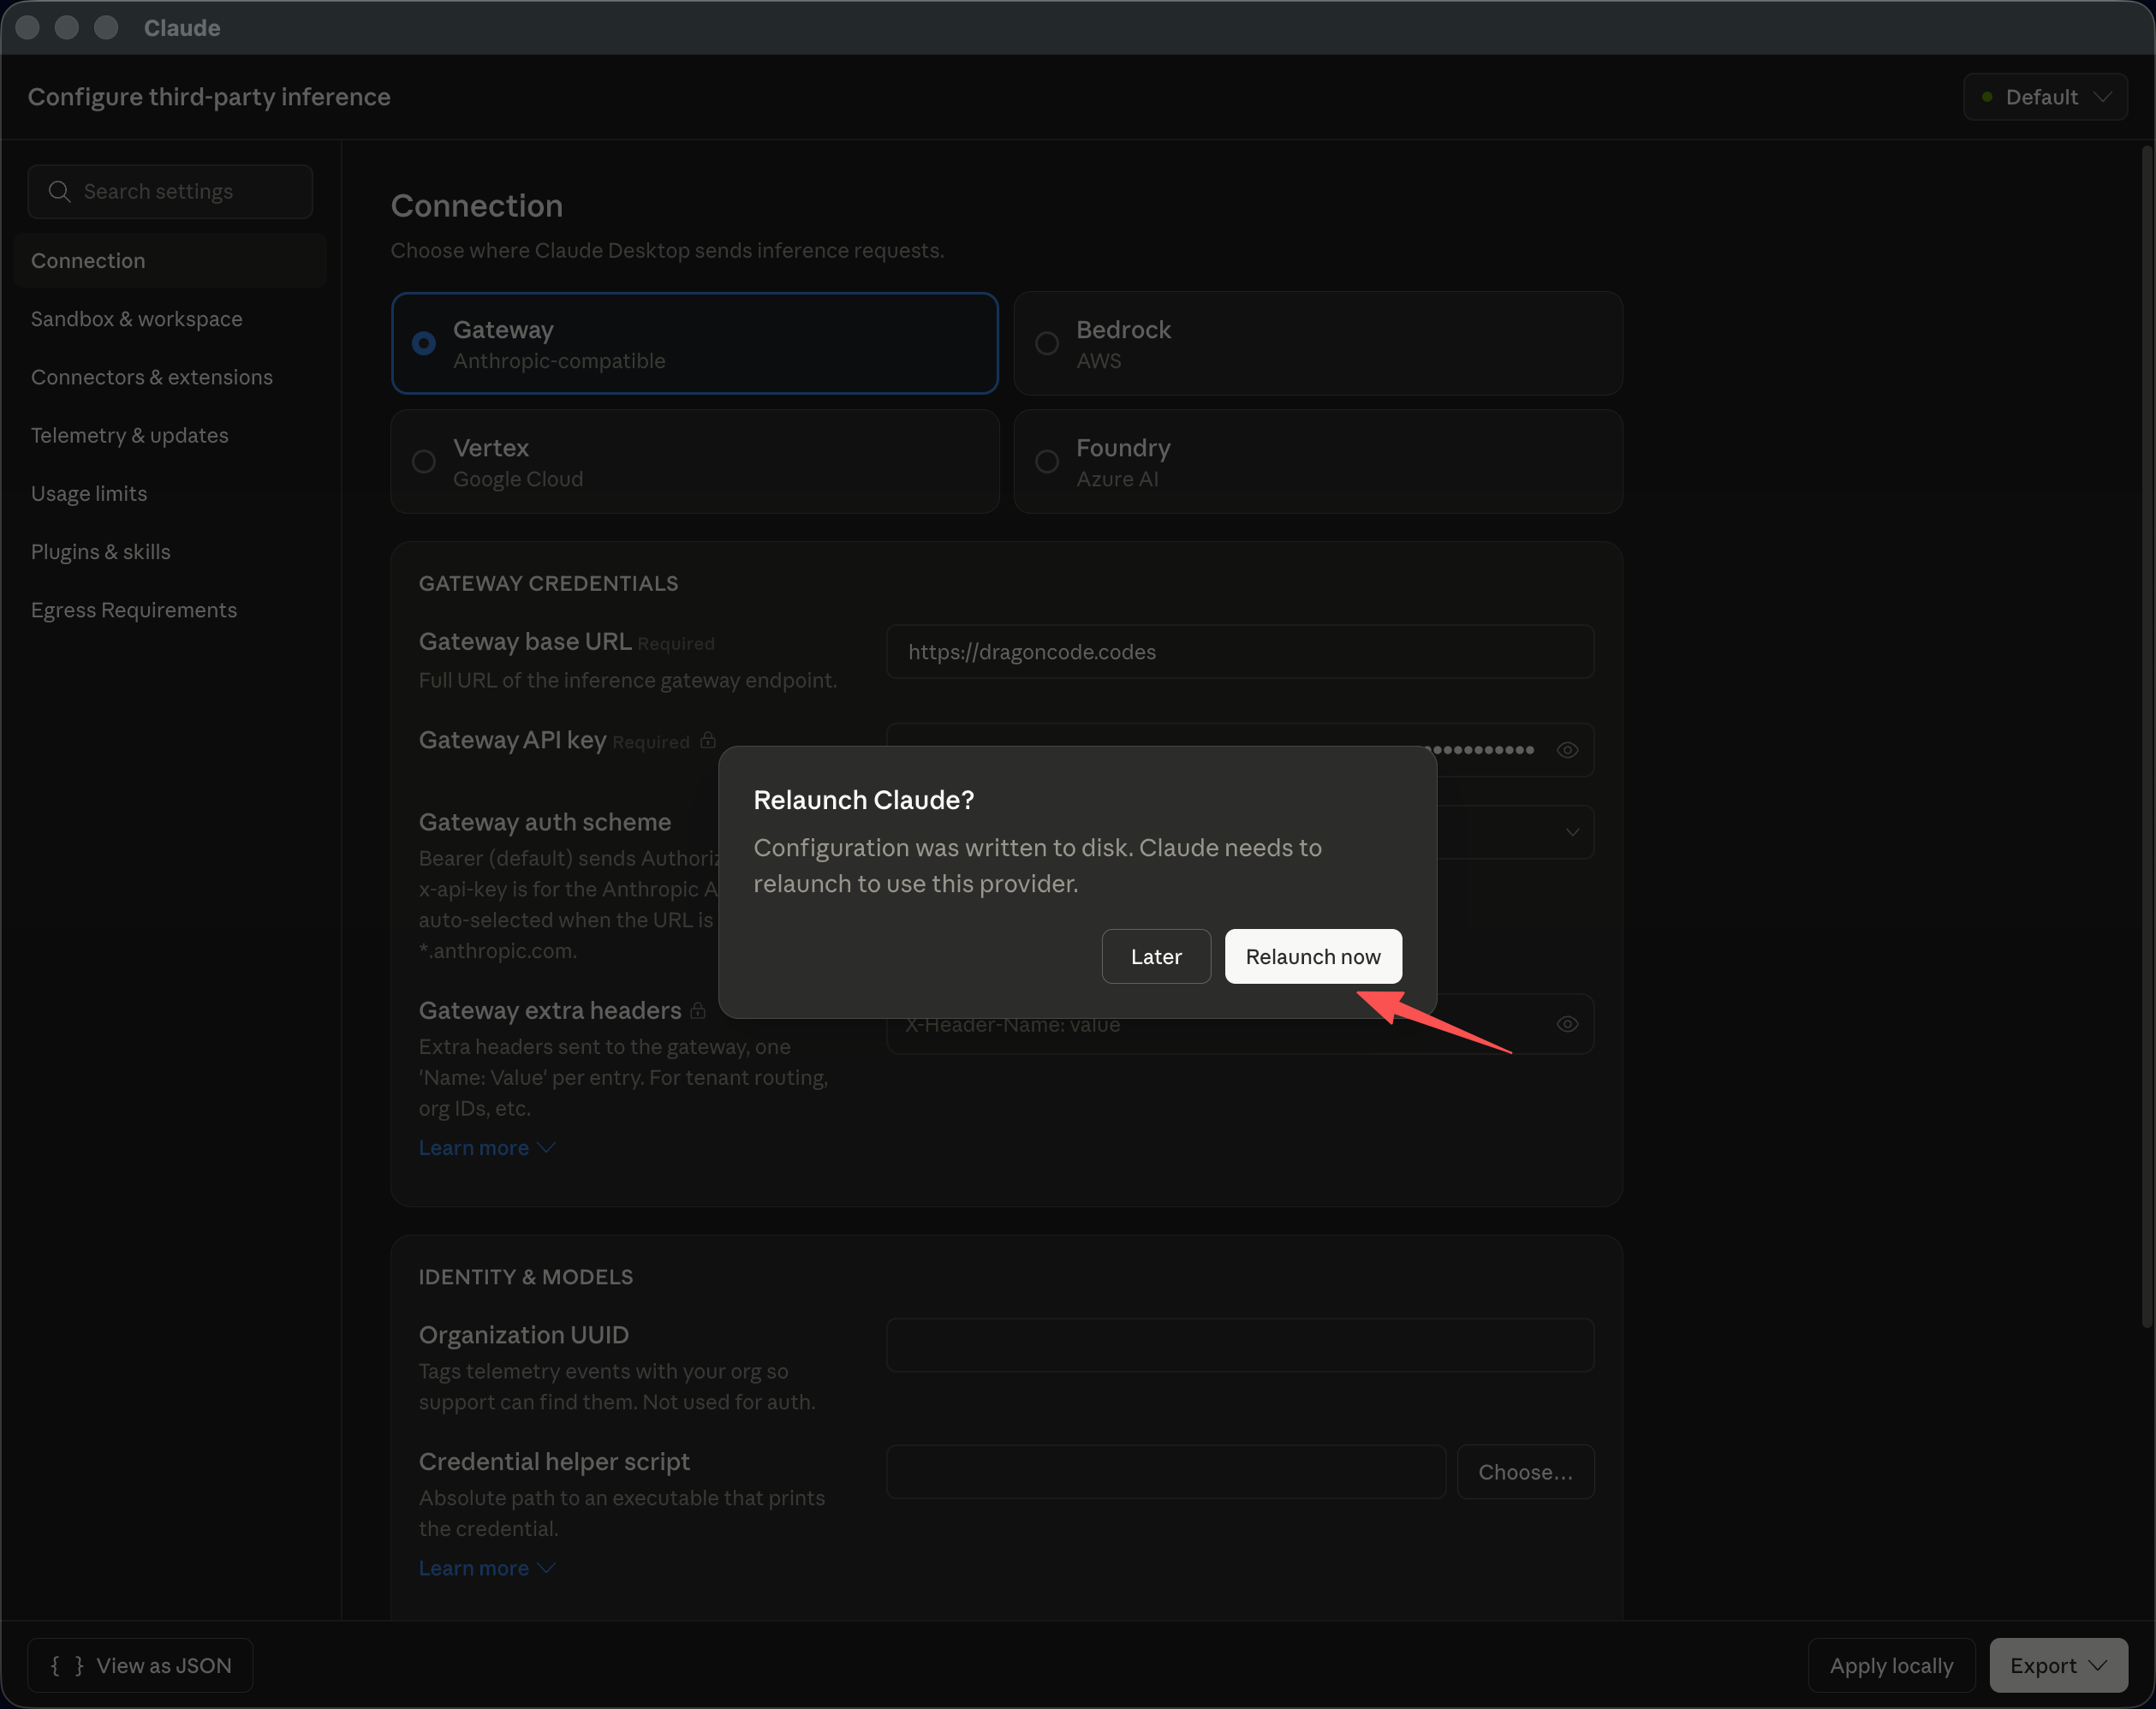
Fill in the third-party interface information. DragonCode is used as an example:
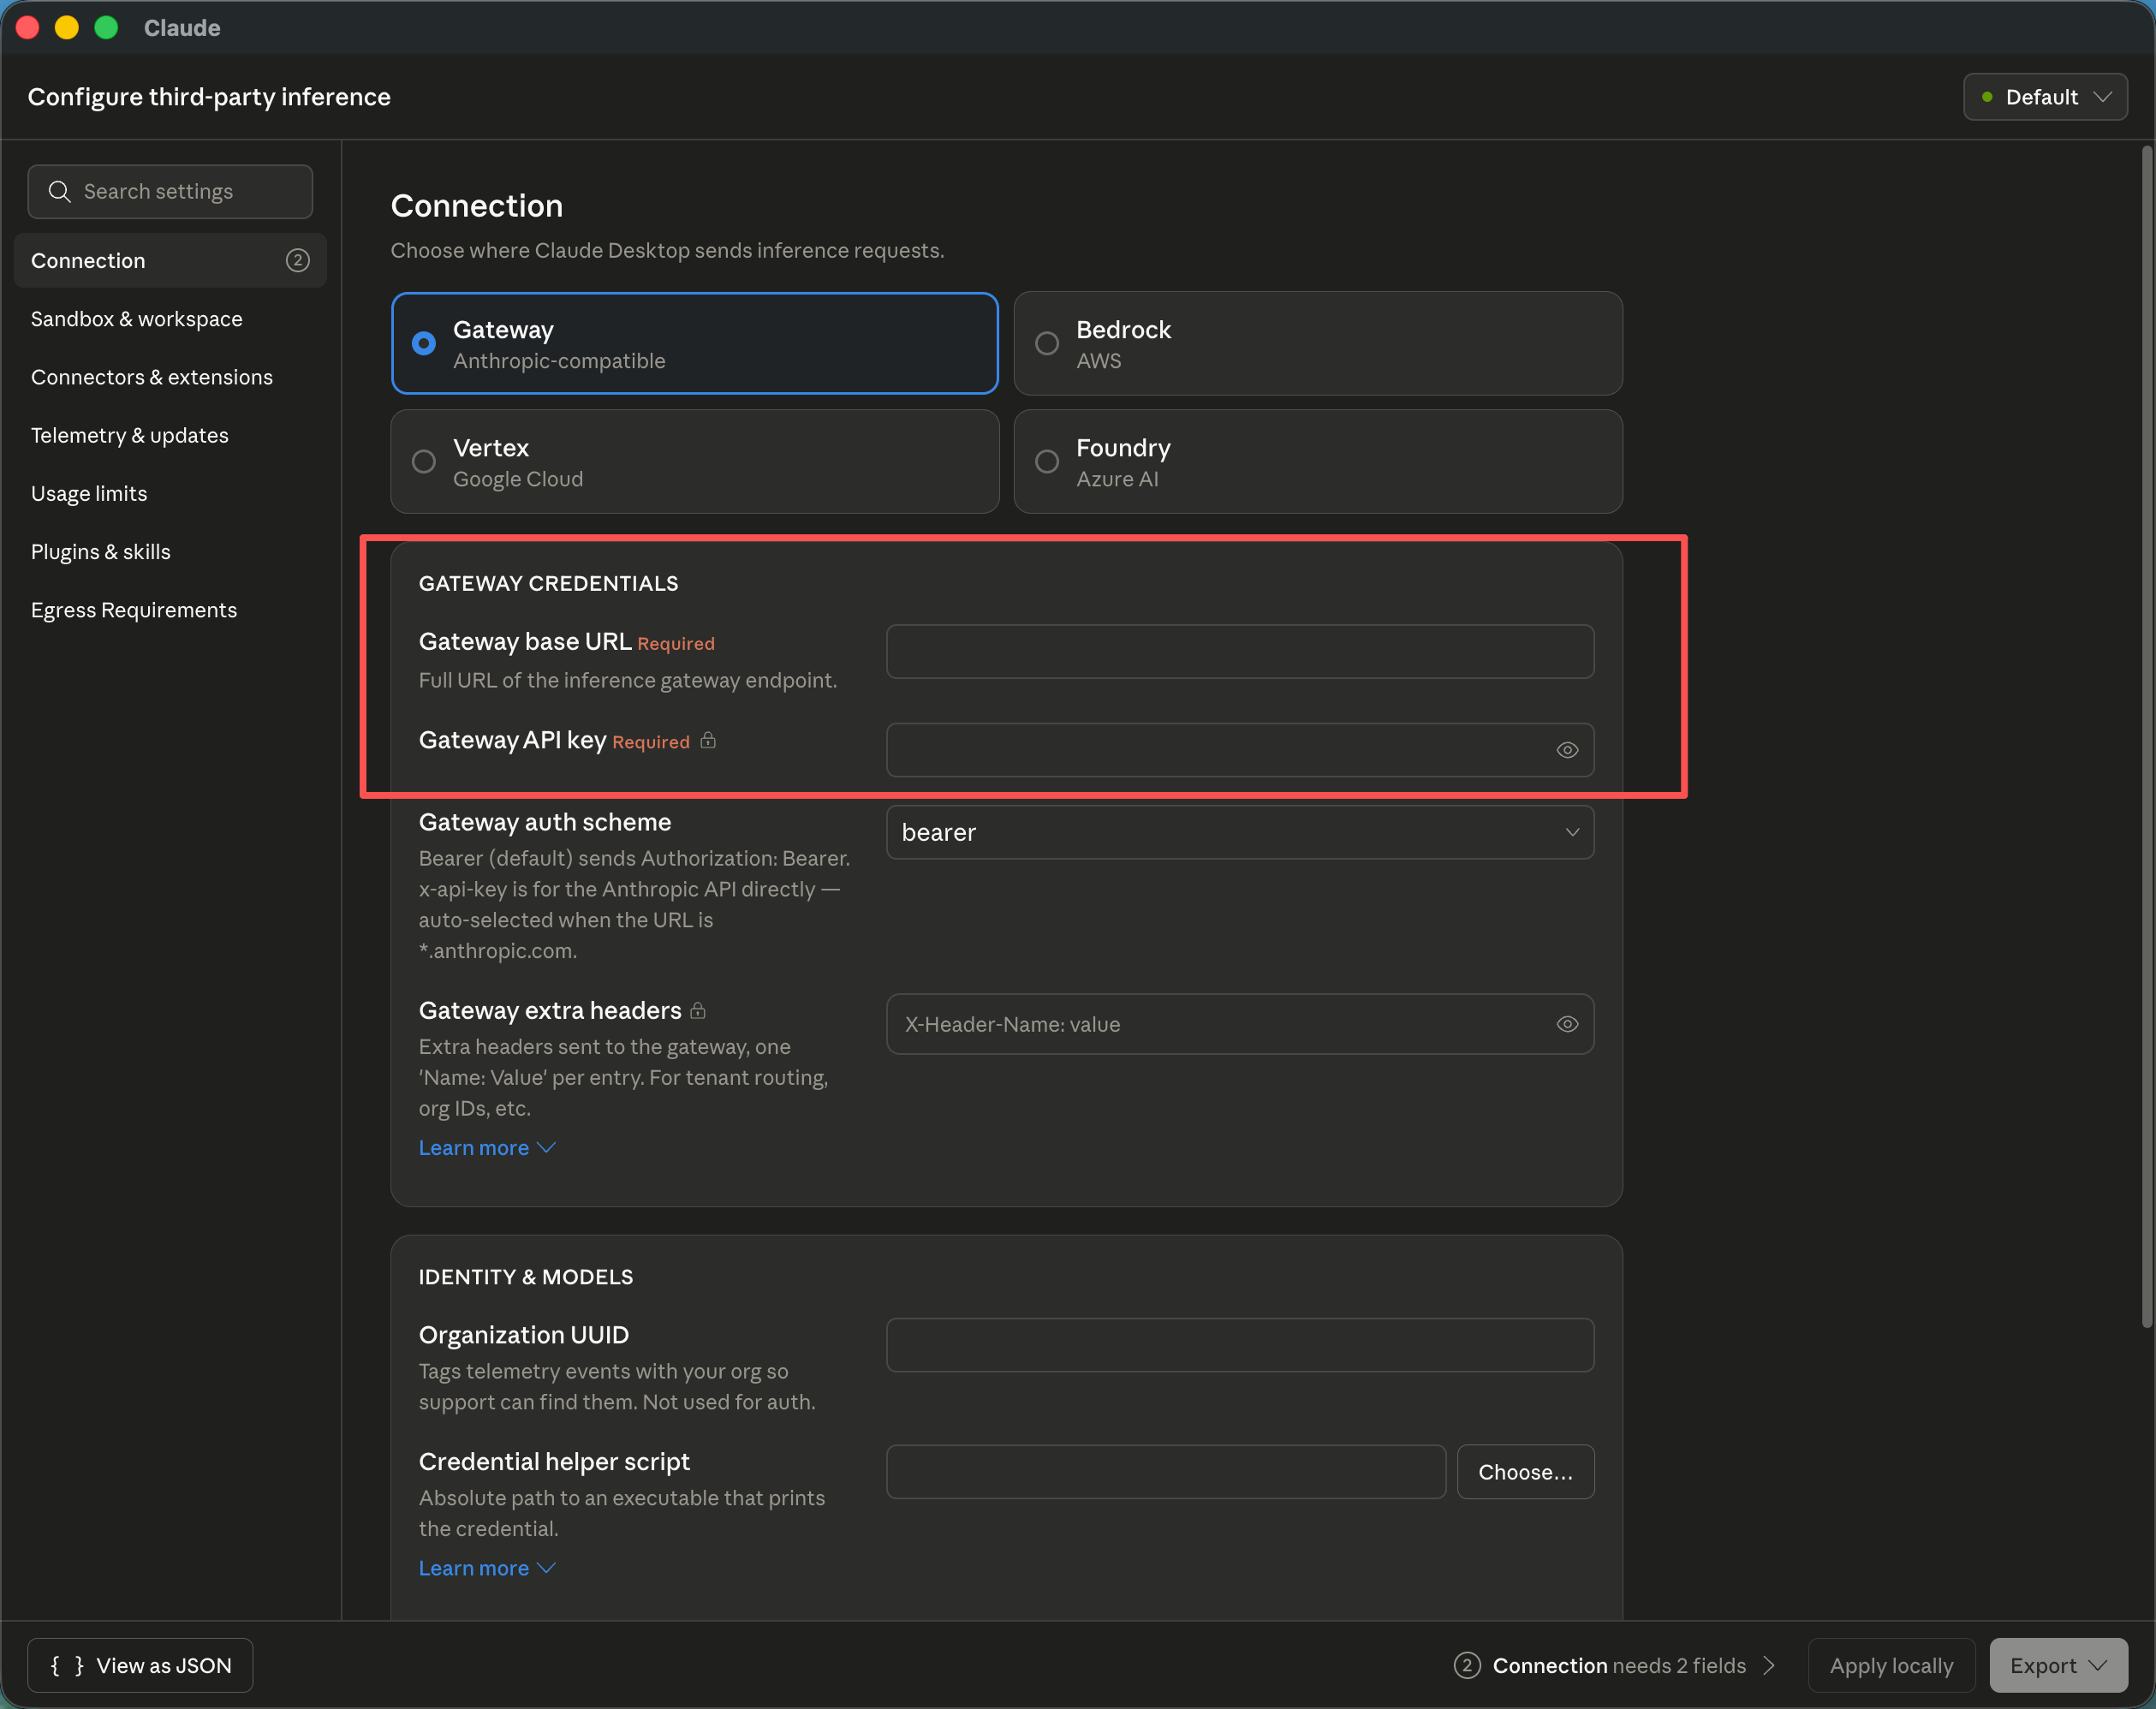
Configuration item Value Gateway base URL https://yycode.netGateway API key Your yycode API Key Click Apply locally in the bottom-right corner
In the confirmation dialog, choose Relaunch now to restart the app
After restart, click Continue with gateway to enter the main interface
Interface Notes
After entering the main interface, you can use the following shortcuts to switch views:
| Shortcut | Function |
|---|---|
Command + 1 |
Cowork interface (default) |
Command + 2 |
Coding interface |
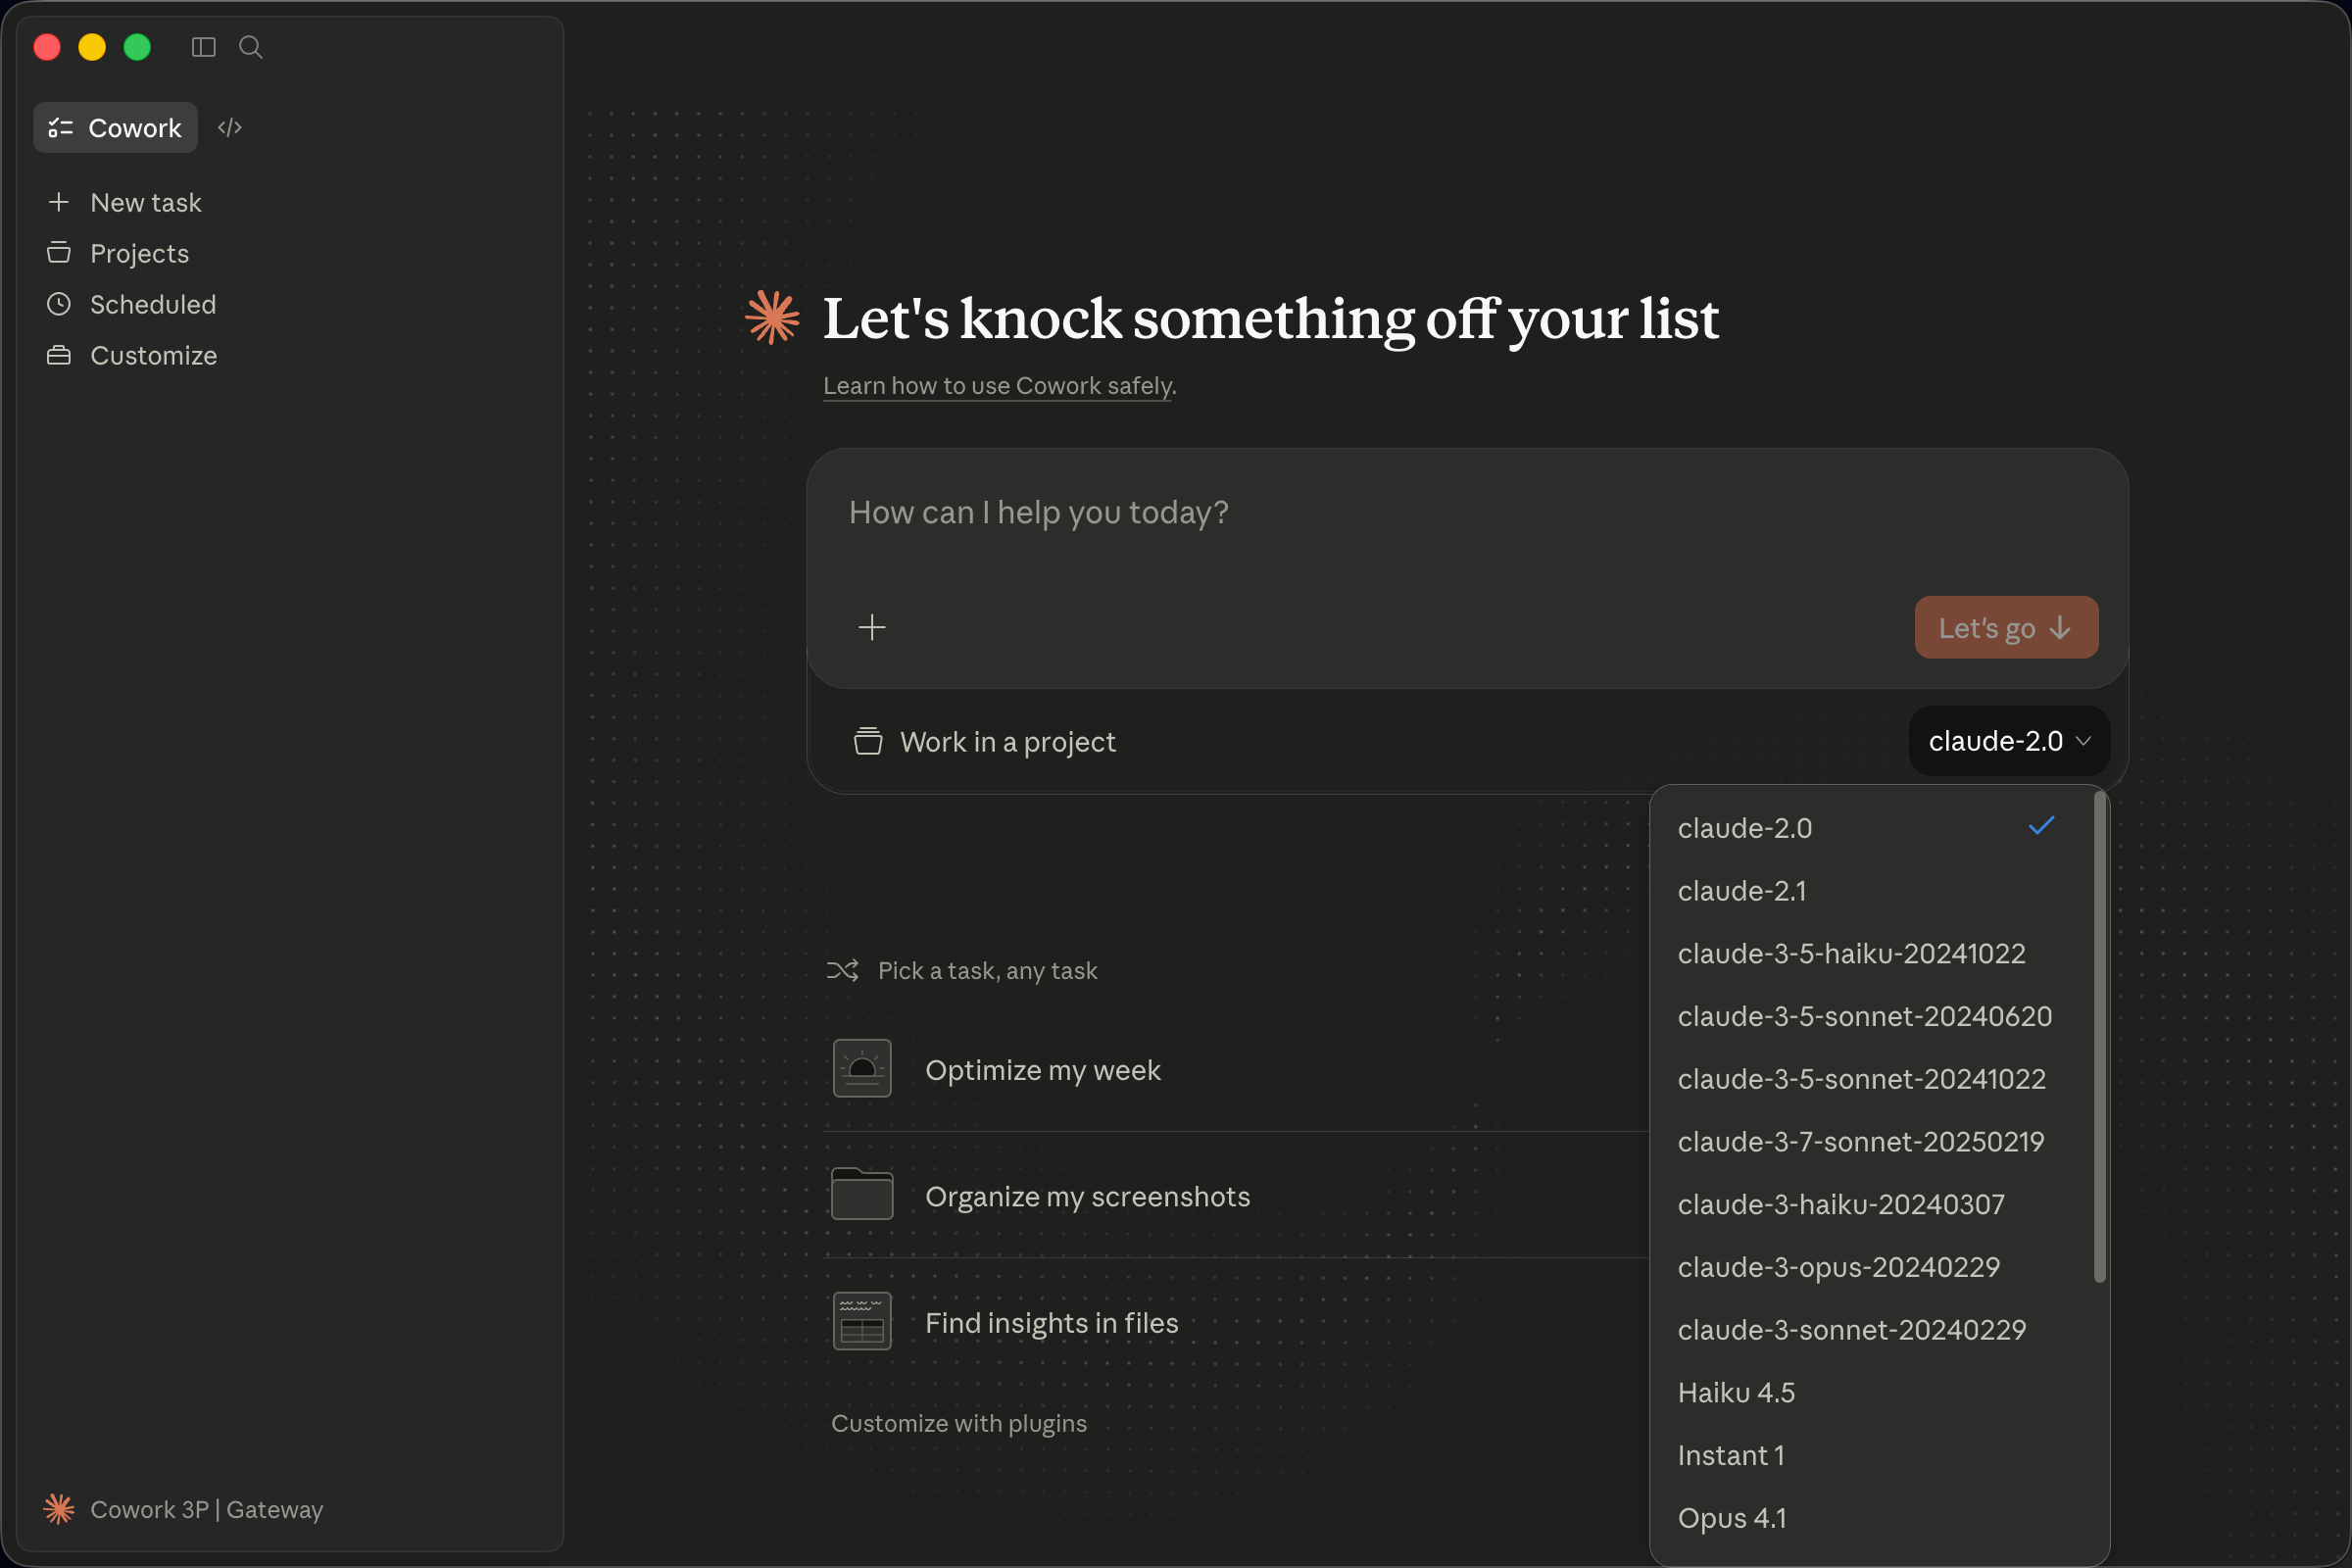
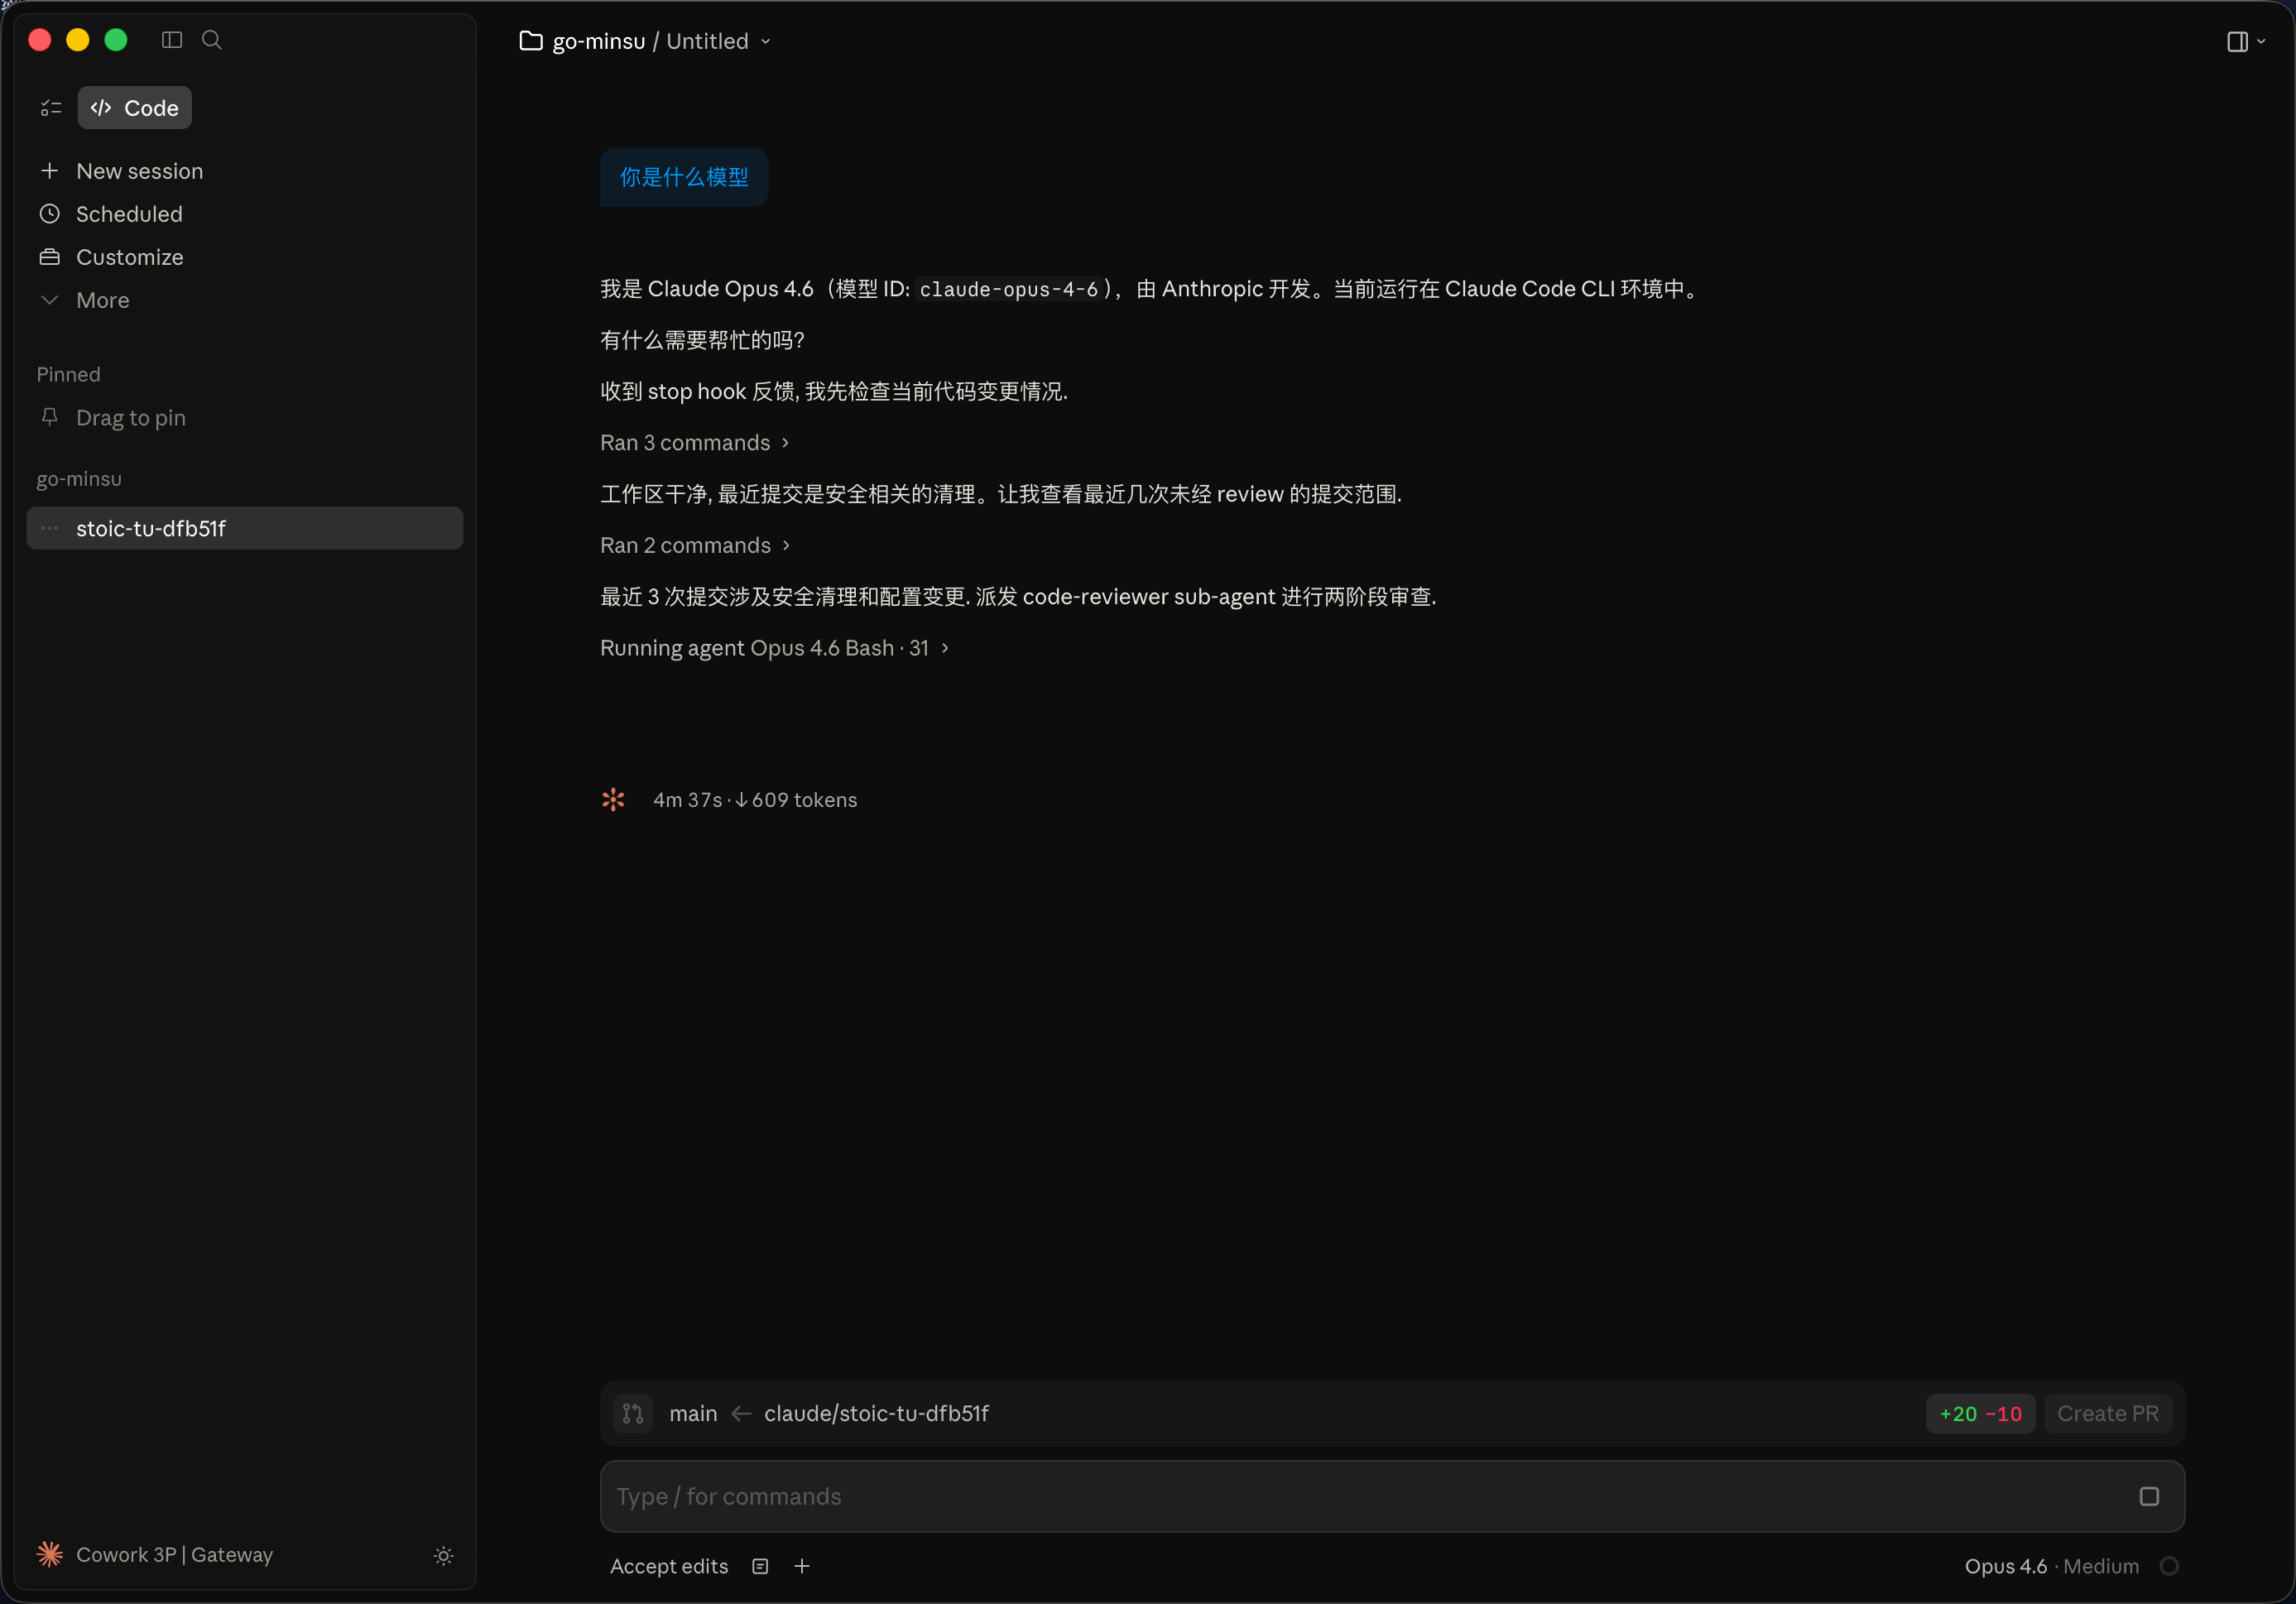
Functional Verification
After configuration, you can verify that the connection works through a simple conversation, such as asking which model is currently being used:
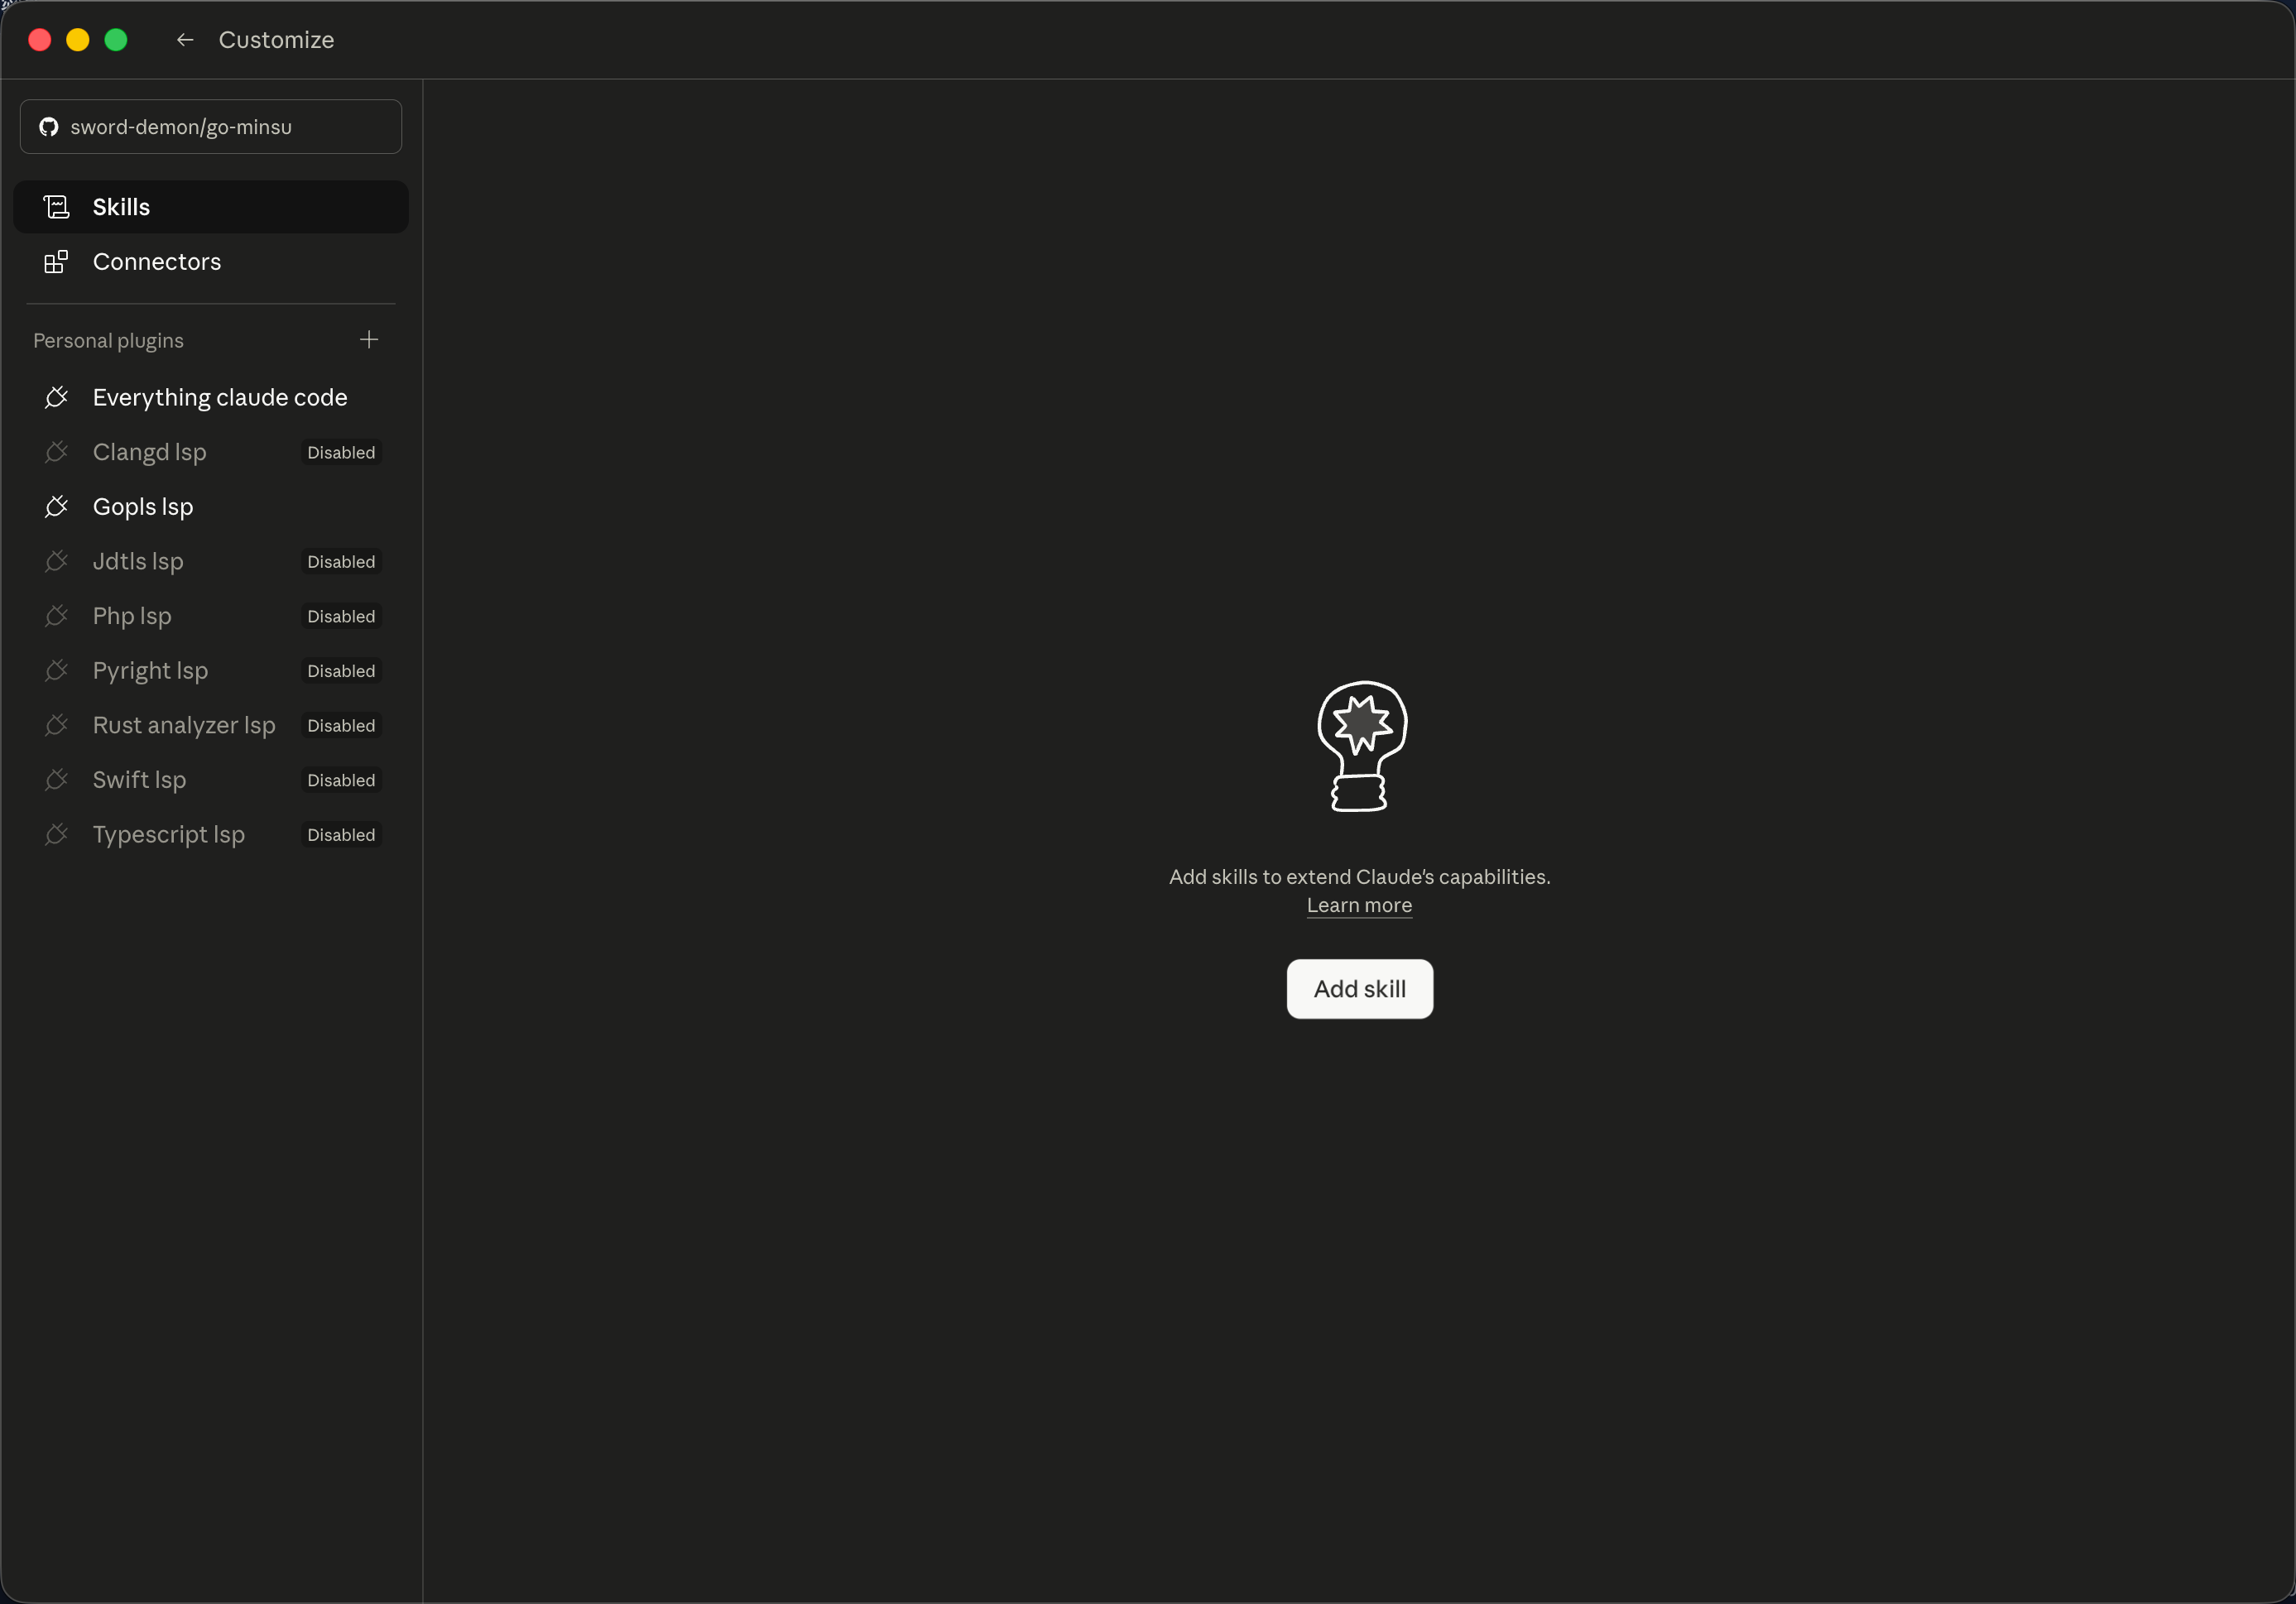
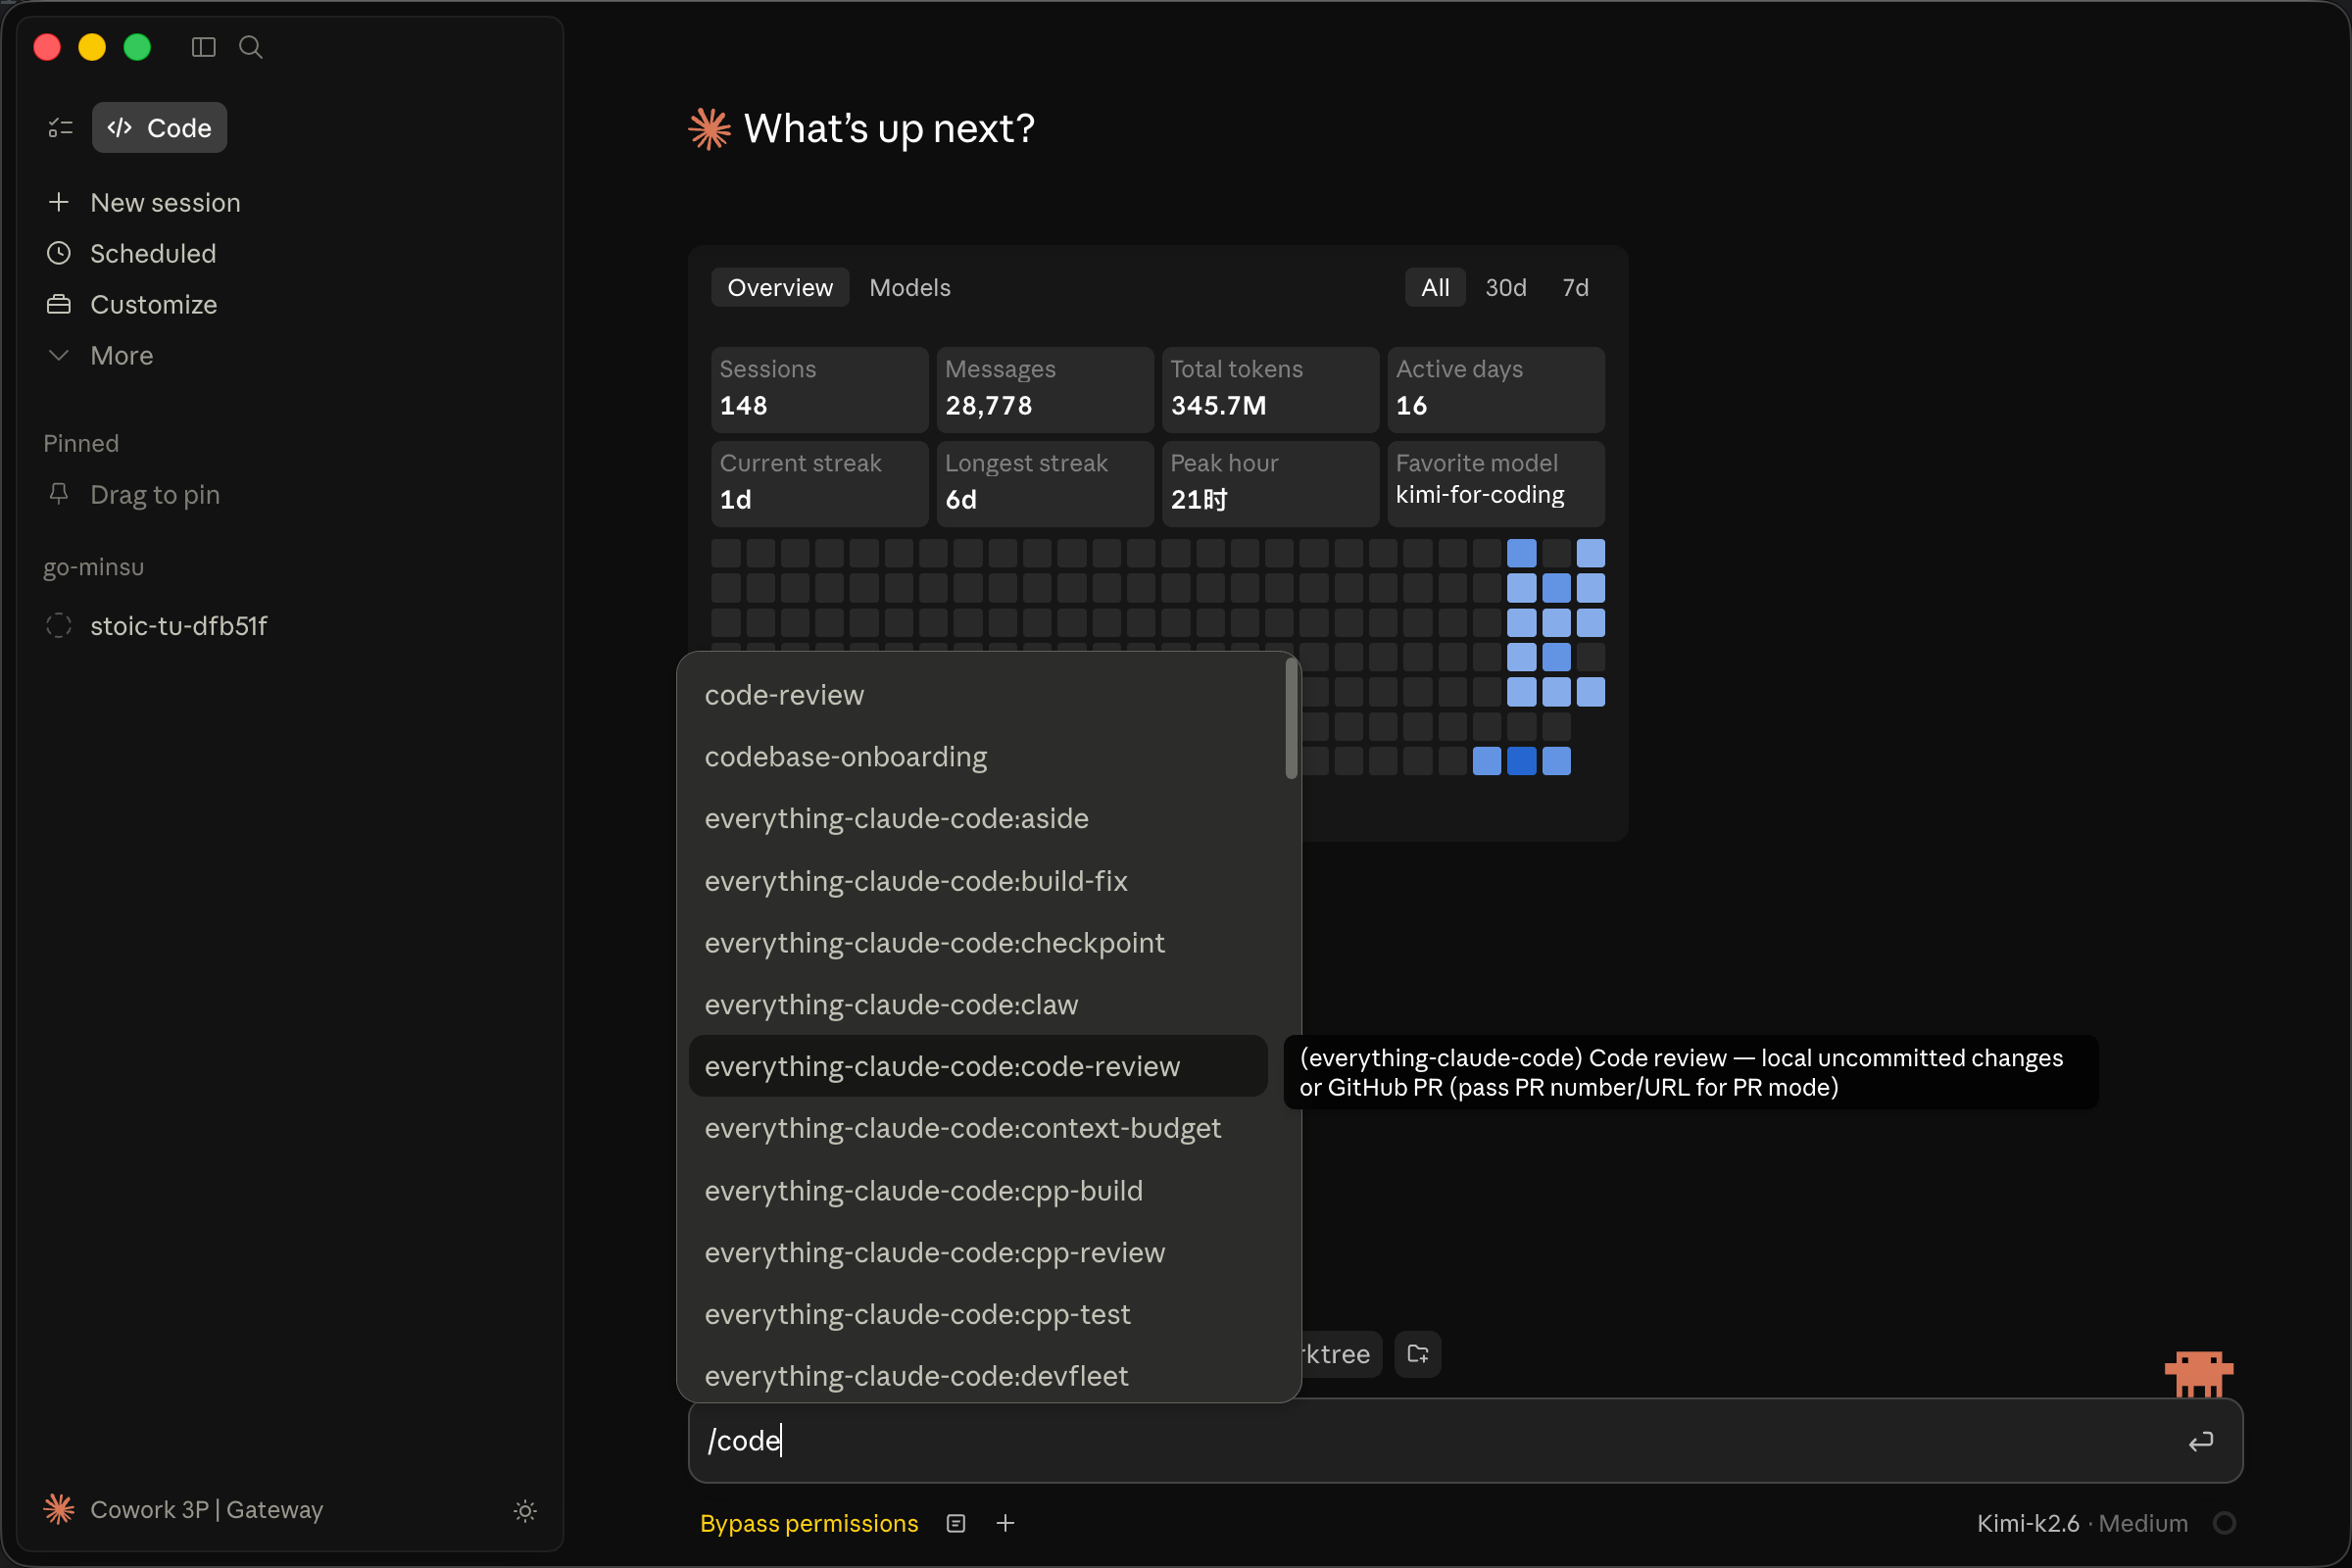
Plugins and Skills
If you have configured and enabled plugins or skills in Claude Code CLI, the Desktop client will automatically sync these configurations. You can also manually upload skill files in the Desktop client:
Advanced Configuration
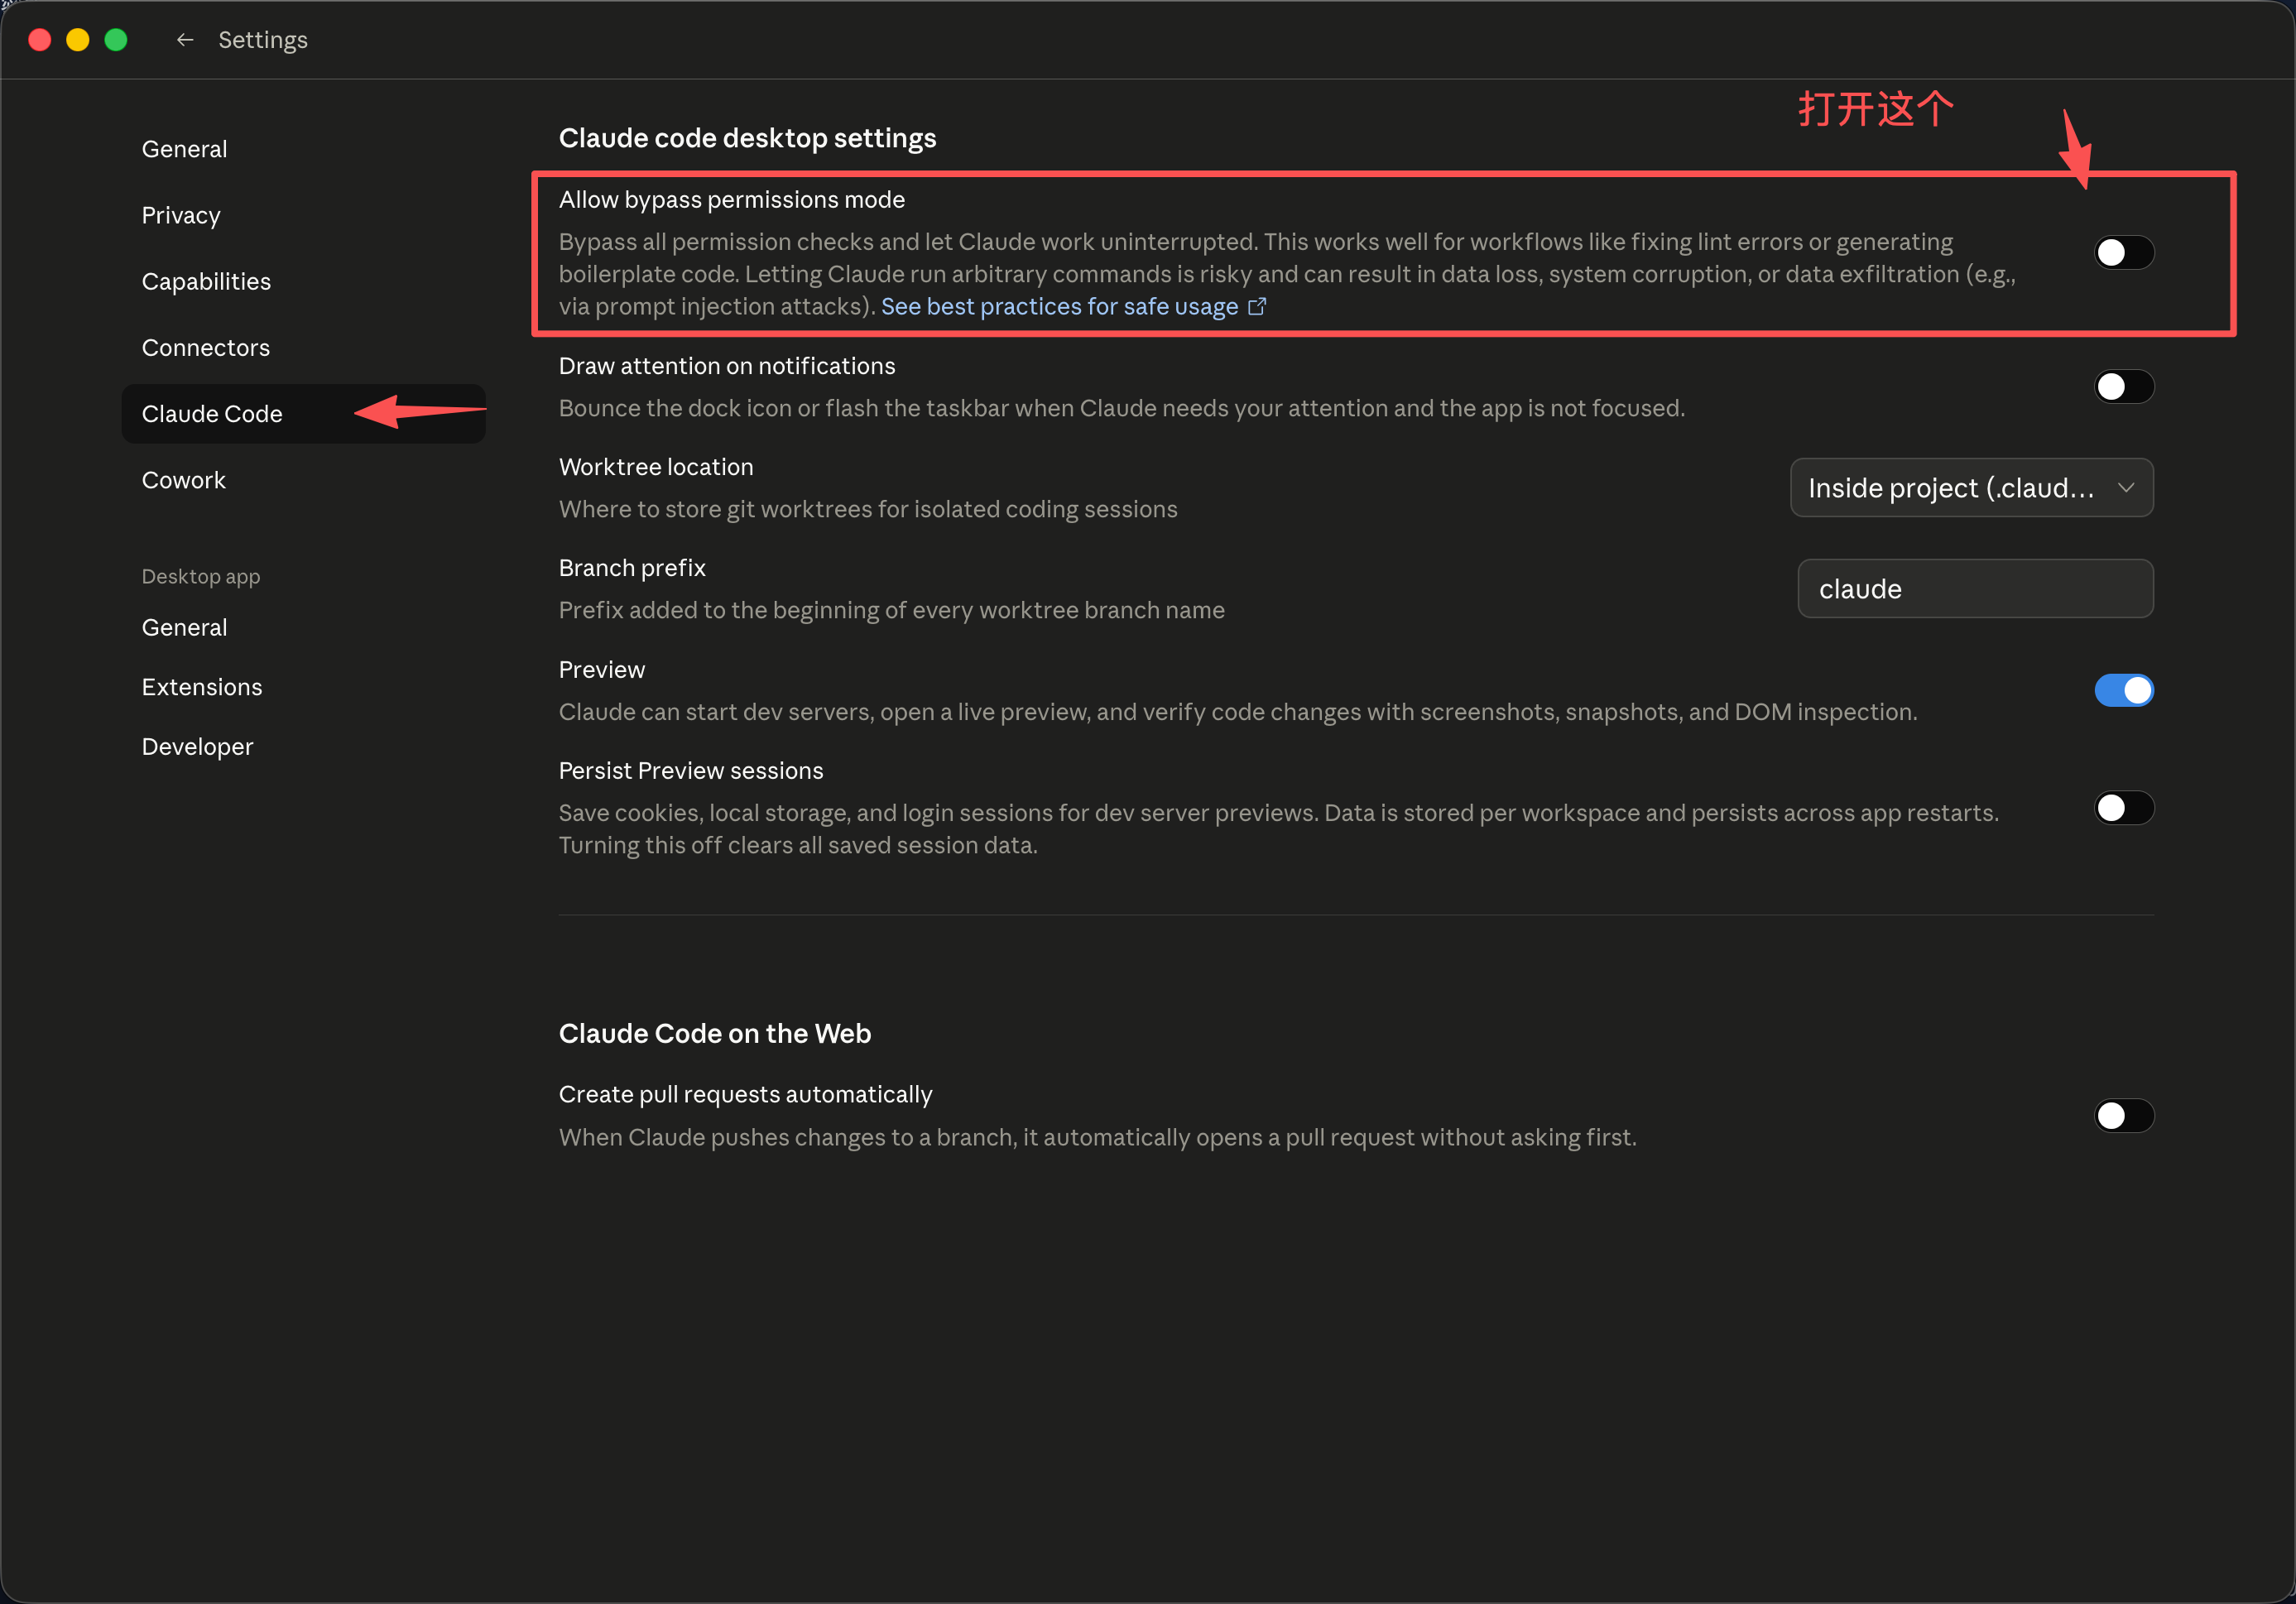
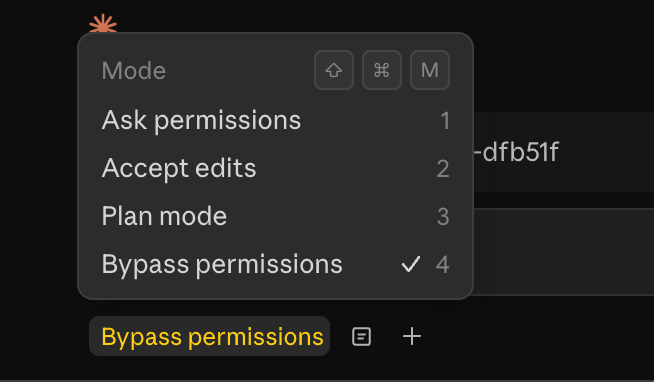
Configure Maximum Permissions
By default, Claude Desktop prompts for confirmation when performing sensitive actions. To disable confirmation prompts, you can set the highest permission level:
Click the Cowork 3P | Gateway status area in the bottom-left corner, or press
Command + ,to open settings
Adjust the permission level in the settings panel
Keep Computer Awake
When running long tasks, it is recommended to enable Keep computer awake to prevent the computer from sleeping and interrupting the task:
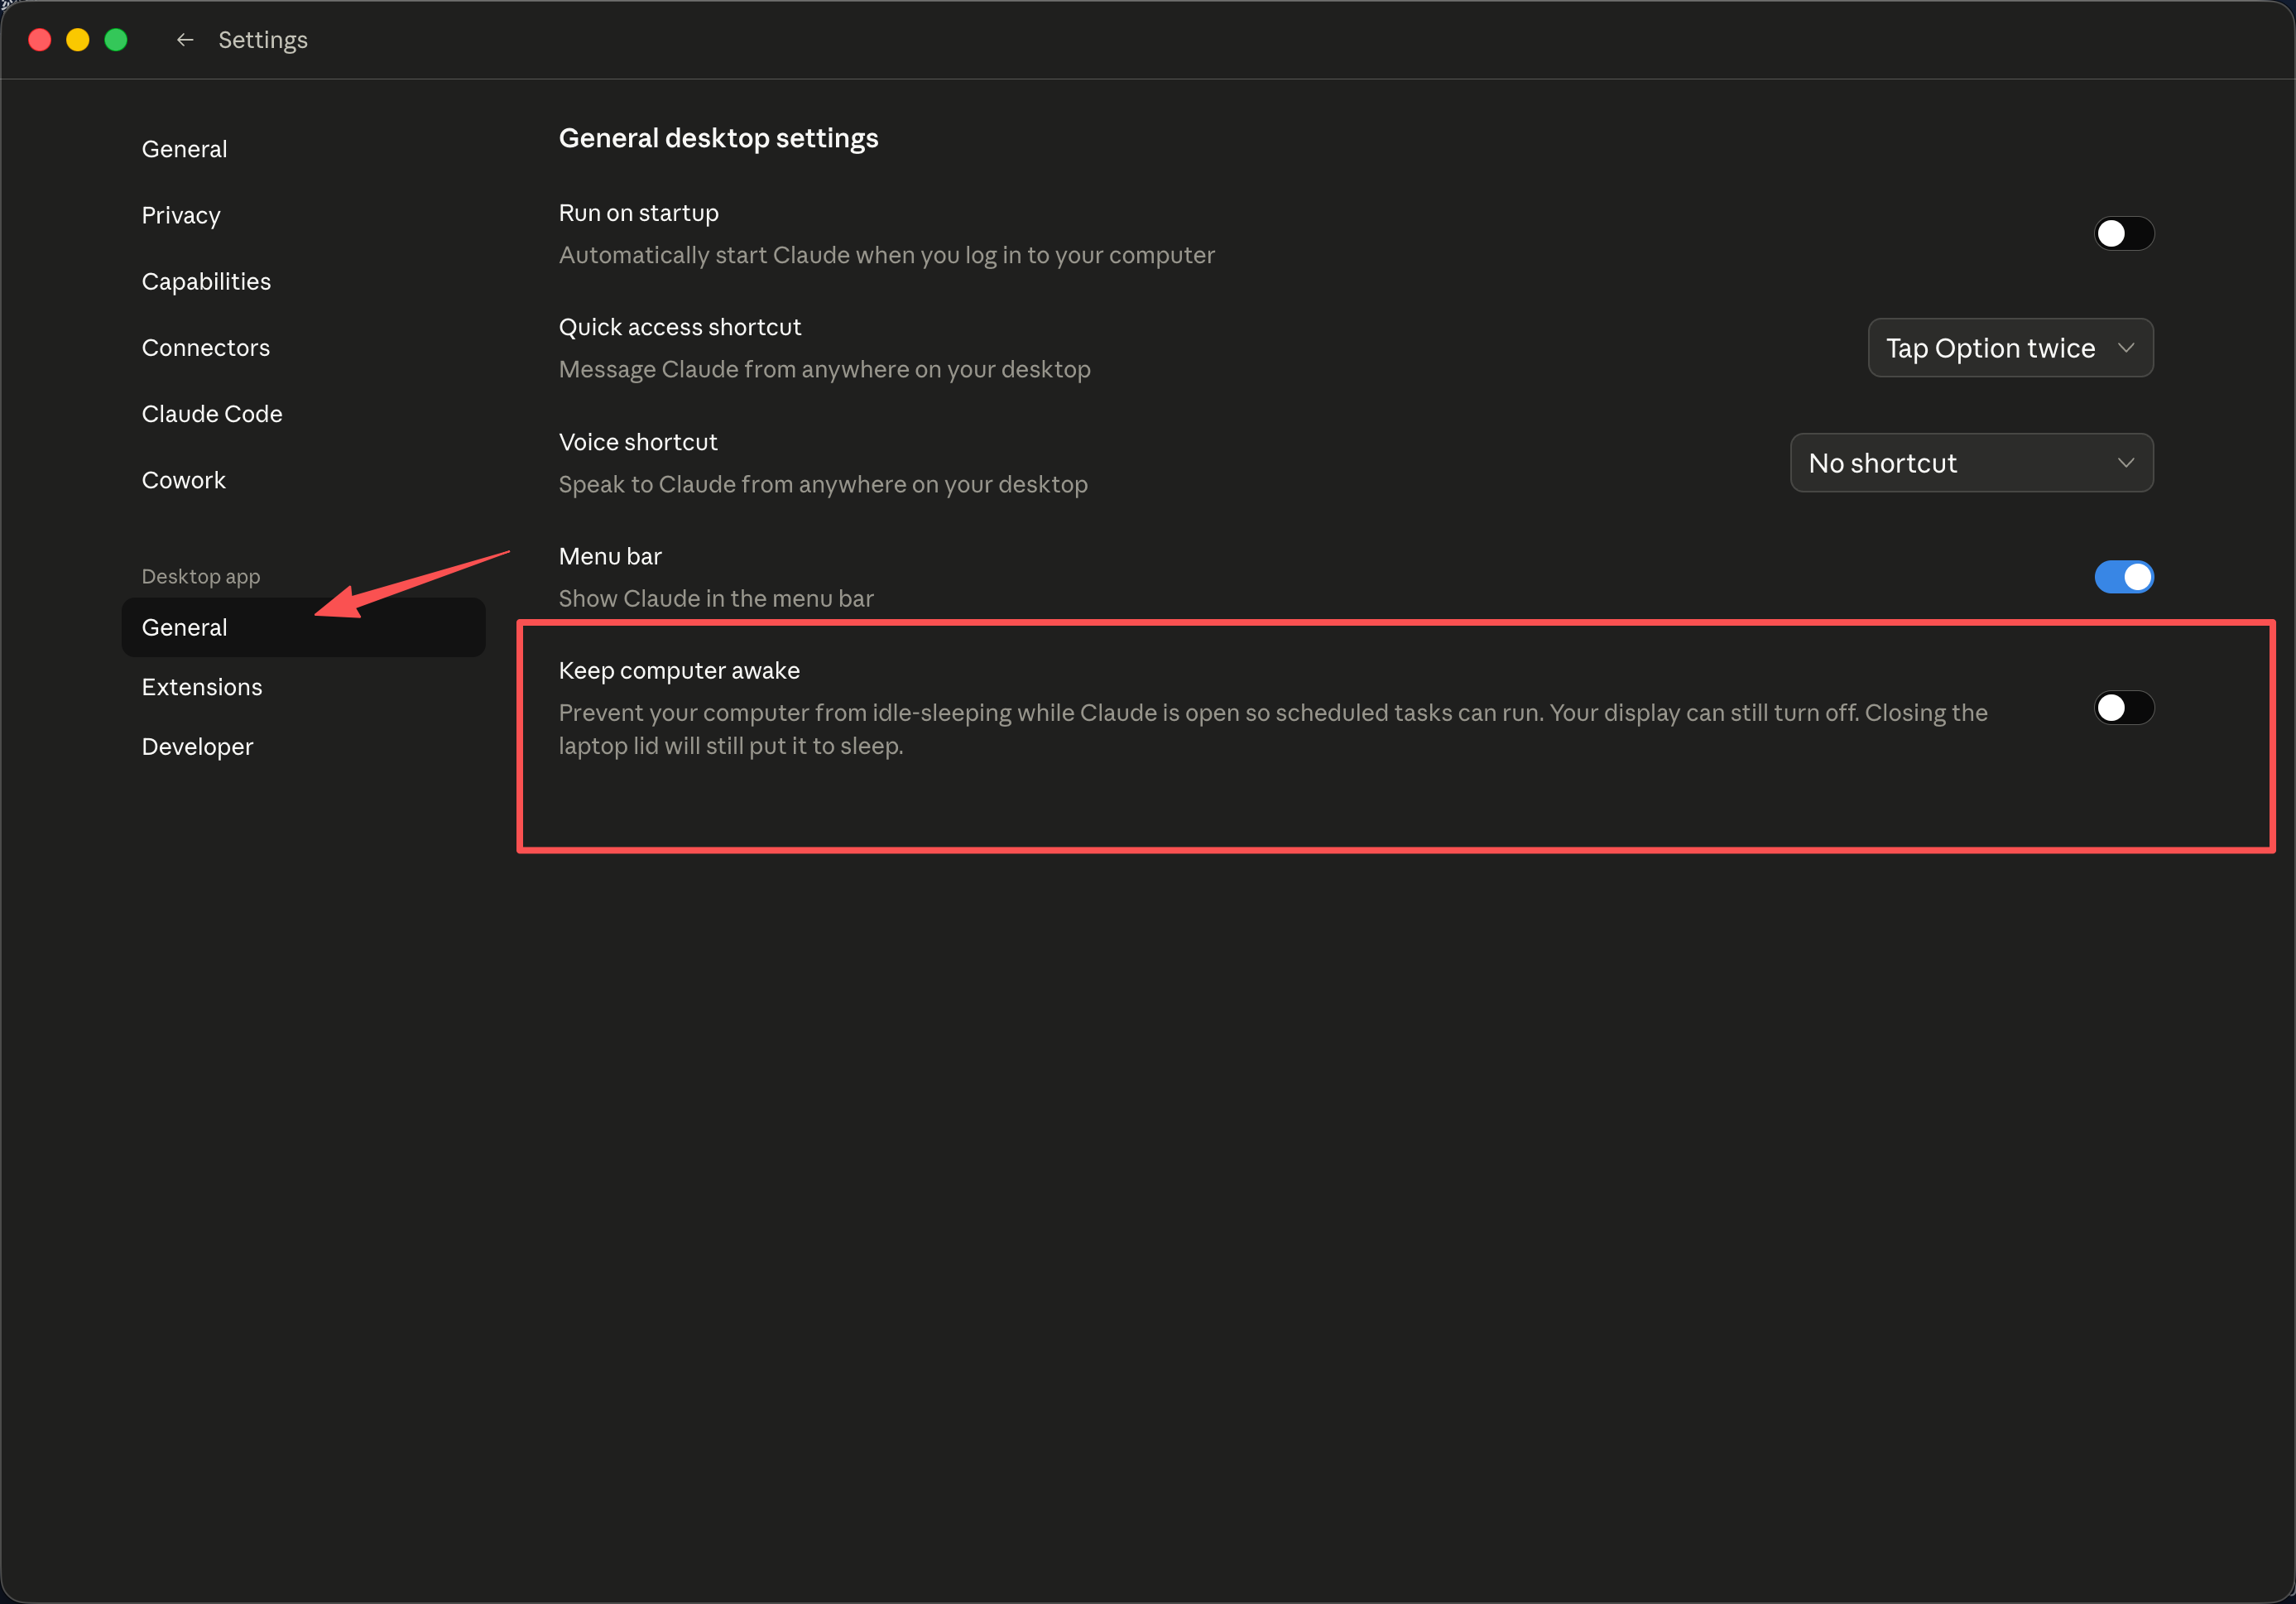
Note: This feature prevents the computer from entering standby. The display may still turn off automatically. However, closing the laptop lid will still put the device to sleep.
Configure Multiple Providers
Claude Desktop supports configuring multiple third-party interfaces so you can switch between services:
Repeat the steps to enable Developer Mode
Go to Developer -> Configure Provider
Click the dropdown in the top-right corner (showing the current configuration name, such as
default)Select New configuration to create a new configuration
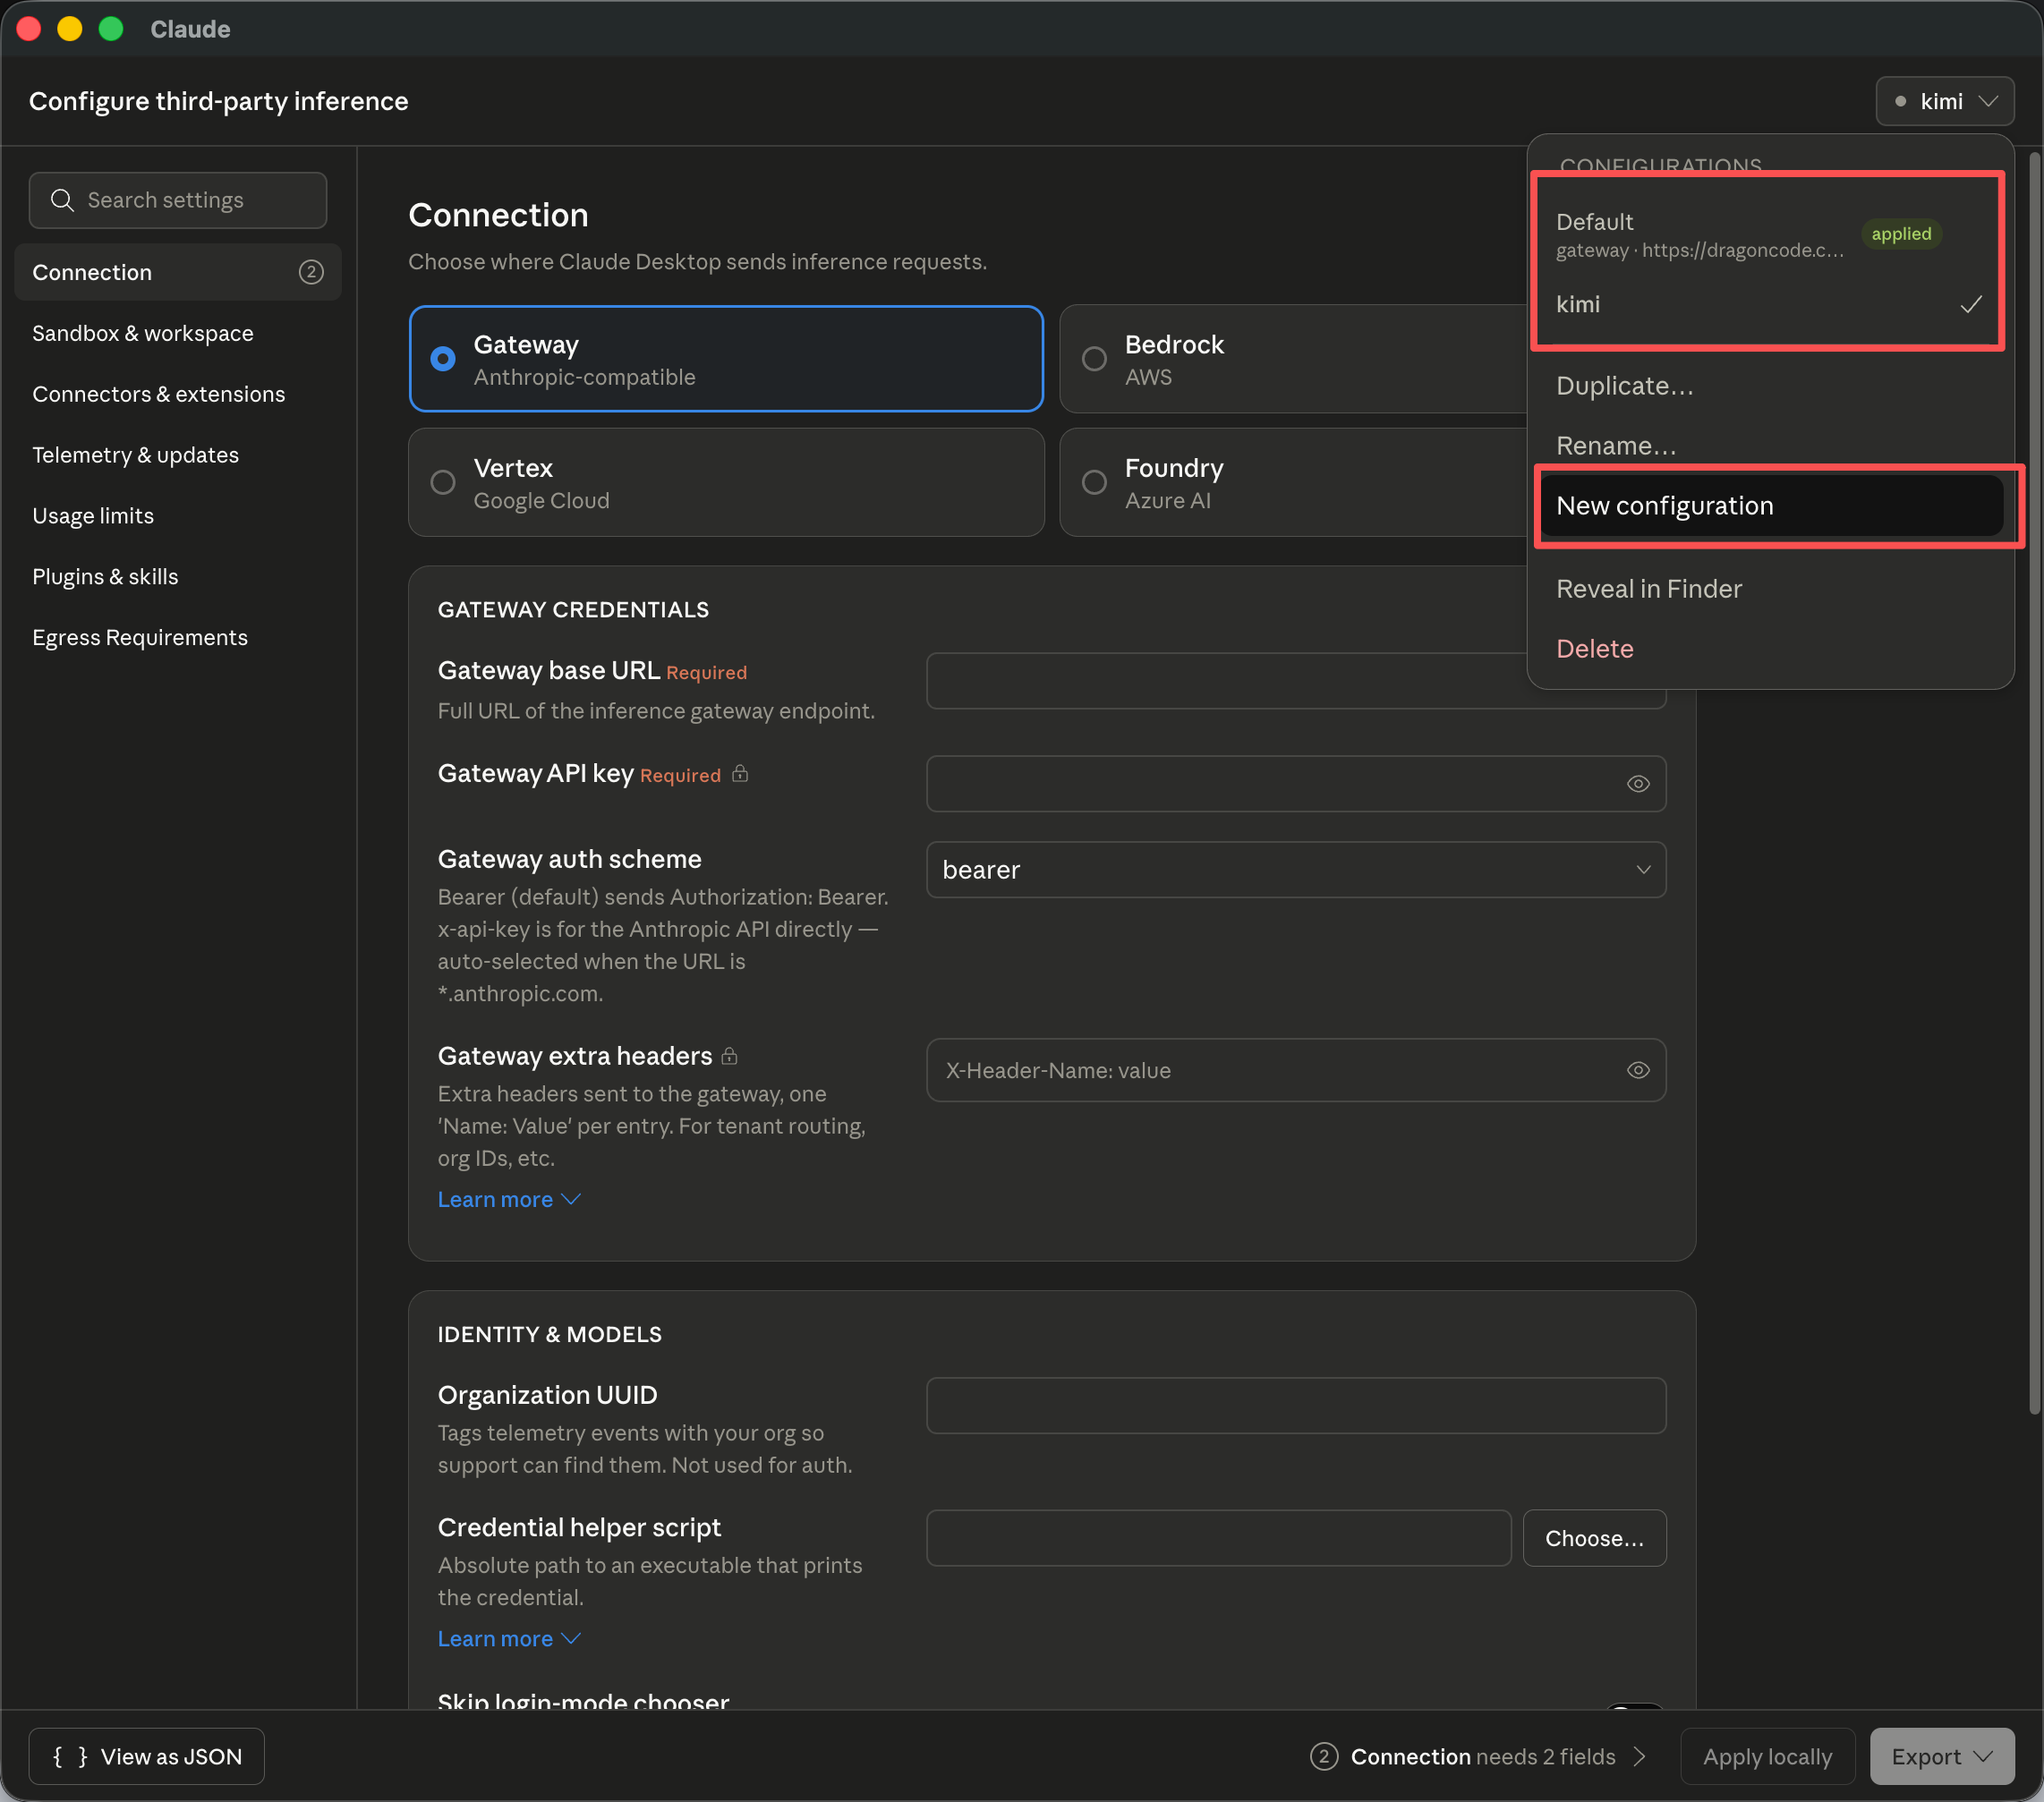
Fill in the new Gateway address and API Key, such as Kimi's configuration information

After applying and restarting, you can freely switch between configured Providers
Windows Configuration Flow
The configuration logic on Windows is basically the same as macOS. Only the Developer Mode entry is different:
Enable Developer Mode
Open Claude Desktop and go to the email input page on the welcome screen
Press
Tabto switch focus until the menu icon in the top-left corner is selectedPress
Enterto open the menu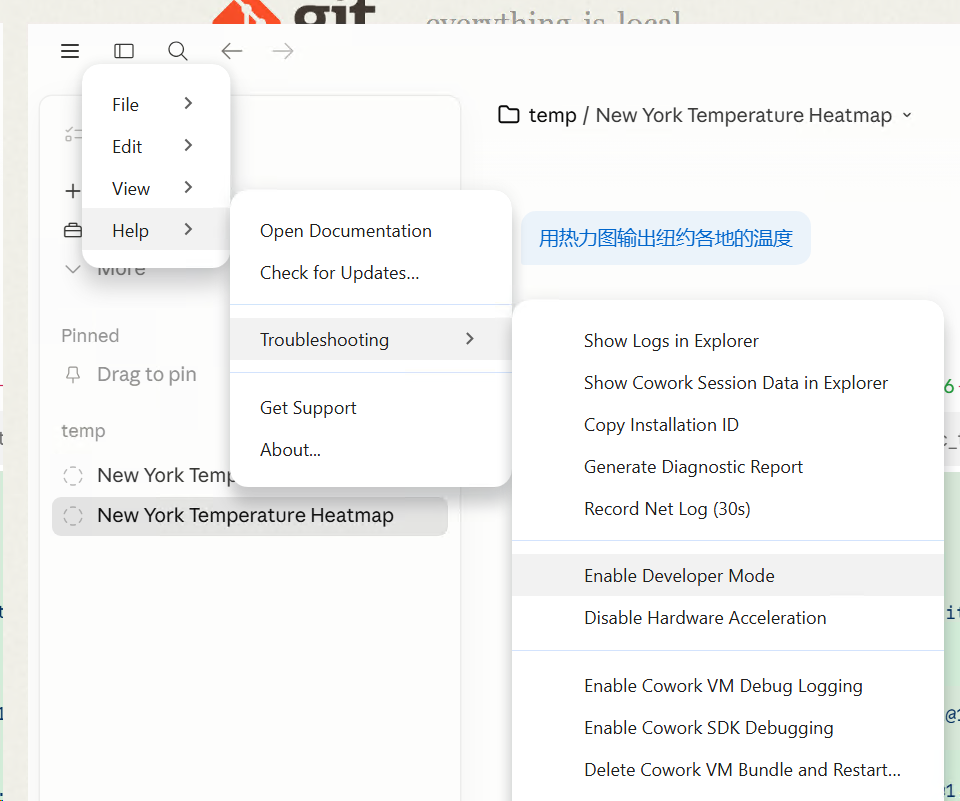
Select Developer -> Configure third-party interface
Configure Interface Information
Fill in the Gateway address and API Key, then click Apply locally and restart for the change to take effect:

FAQ
| Question | Solution |
|---|---|
| Cannot connect after configuration | Check whether the Gateway URL starts with https://, and whether the API Key is valid |
| Provider becomes invalid after switching | Make sure you clicked Apply locally and restarted the app |
| Insufficient permissions to execute commands | Set the permission level to the highest level in settings |